Main workspace in Infinite Painter (the basics)
It seems pretty minimalistic at first…
Infinite Painter shows only the controls that are necessary at the moment.
Main controls
![]()
Return to Home
Closes and saves current project, opens the Home workspace.
![]()
![]()
Tools menus
All tools neatly sorted. Learn more in Tools menus overview.
![]()
Layer panel toggle
You can work on separate layersLayerA layer is a separate RGBA image (usually) of the size of the canvas. Layers can be stacked on top of each other..
![]()
Here you will find all file operations, settings and help.
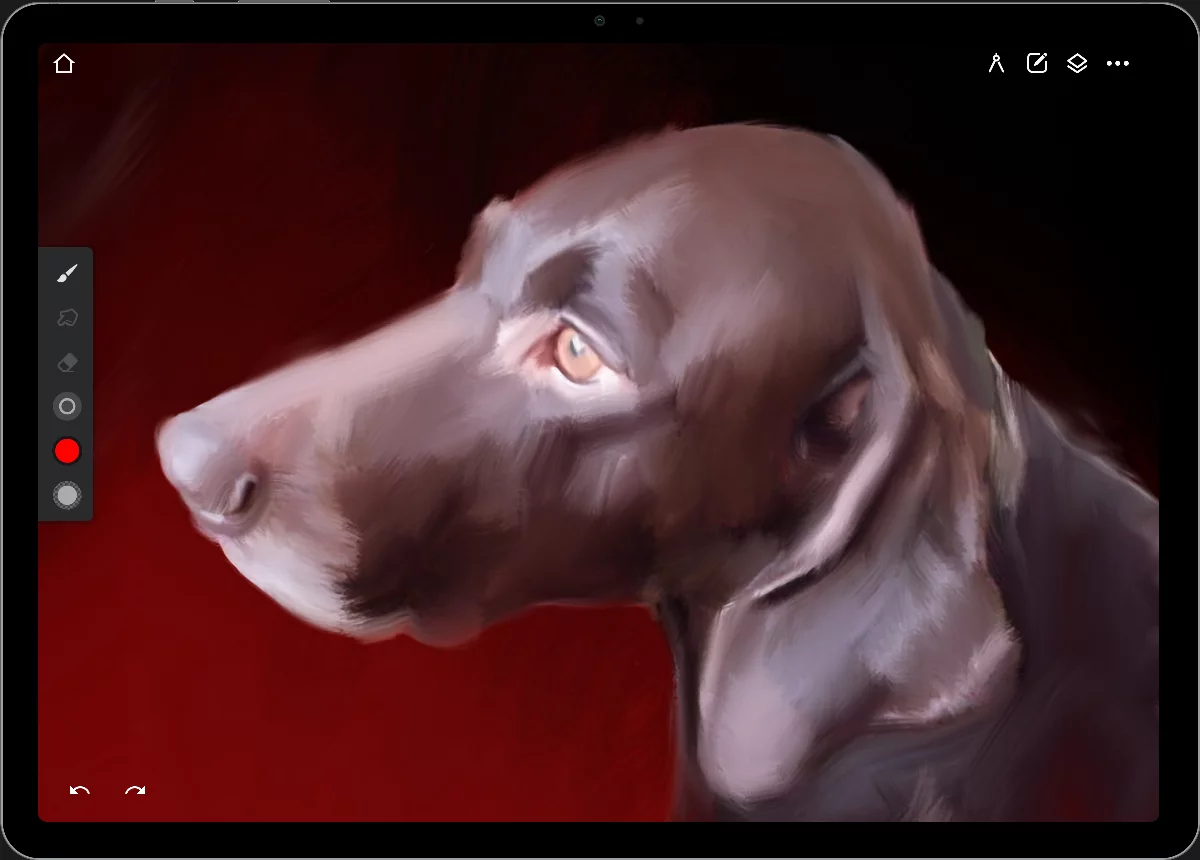
CanvasCanvasThe rectangular area of a defined size that contains the artwork. All and only the canvas will be exported or printed.
The place where you paint and draw.
![]()
Undo button
Correct mistakes easily. Learn more in Undo system.
![]()
Redo button
It appears only when you have undone something.
Optional controls
Everything under control. When necessary.
More controls show up when you need them…
“Mini-toolbars”Mini-toolbarIn Infinite Painter’s interface, a small toolbar displayed in the upper-right part of the screen when certain tool is active. This toolbar may consist of one or more buttons; the main, leftmost icon indicates the tool in use. Learn more of active tools
![]()
Reference menu
Place reference photos on your screen (see Using reference images).
You can rotate your canvas, zoom and pan with two fingers. (See Navigate around the canvas).
Control panels open when you need to adjust a parameter (here shown the brush opacity pop-up; see Quick brush opacity adjustments)
![]()
Tool settings menu
(see Tool settings menu)
![]()
SelectionSelectionA selection is a defined region of your canvas that can be used to edit its content or to limit the application of painting tools (like a stencil). Technically, a selection is an 8-bit (grayscale) mask image which defines the selected vs. masked areas of the canvas. controls
(see Top bar indicators
Main toolbar
Much more than it seems.
The Main Toolbar contains controls related to the current brush. They allow you to change the mode of the brush, its size and opacity and the color you are going to apply with it.
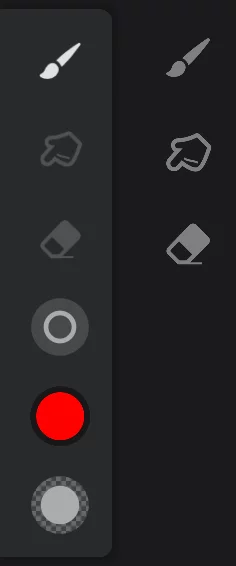
Brush modes: Paint modePaint modeThe main and default mode of using a brush in Infinite Painter. The brush applies the color to the active layer.
Brushes with filters or color adjustment functions may apply the special effect instead of the color in Paint mode.Learn more, Blend modeBlend modeOne of the main three brush modes. The brush in Blend mode blends or smears the existing colors on the current layer. Not to be confused with the color blending modes.Learn more, Erase modeErase modeOne of the main three brush modes. The brush erases color from the current layer to transparency.Learn more
Tap one of the icons to change mode.
Tap again to select a different brushBrushA brush is a tool that lets you paint on a the canvas with different shapes, textures, and colors, similar to using real paintbrushes. The brushes follow the movements of your finger or stylus on the touchscreen (as opposed to other tools that have no real-time interaction with the canvas). In Infinite Painter, the brushes have much more functionality than merely applying colors.Learn more for current mode.
Learn more about Paint, Blend and Erase brush modes in Brush modes.
Brush Size button / indicator
Tap to open the Size control panel (see Brush — basic adjustments)
Drag up/down to adjust the size of currently used brush.
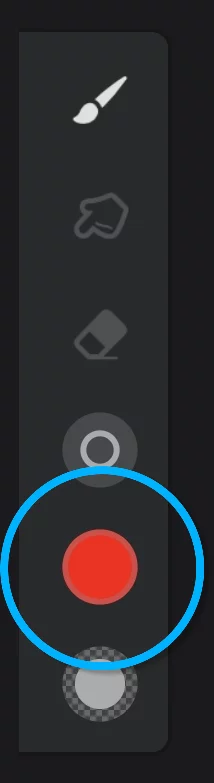
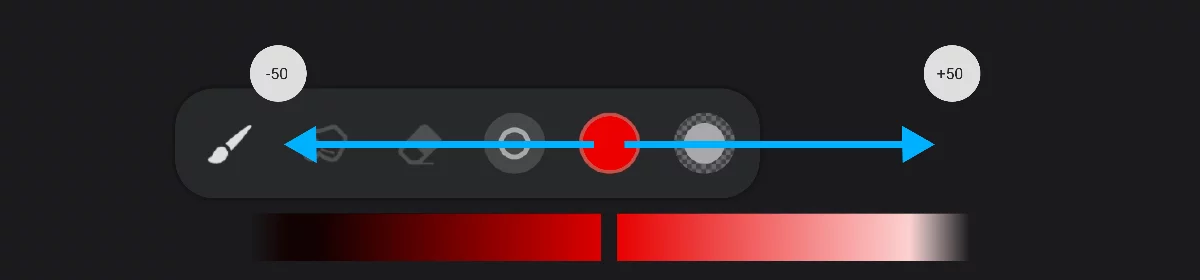
Color button / indicator
![]()
Note that the color indicator is replaced by the “settings” icon in Blend and Clone modes
or with the effect strength adjustment if the current brush has a special effect applied. More info in Blend mode , Cloning, Brush Editor — special effects.
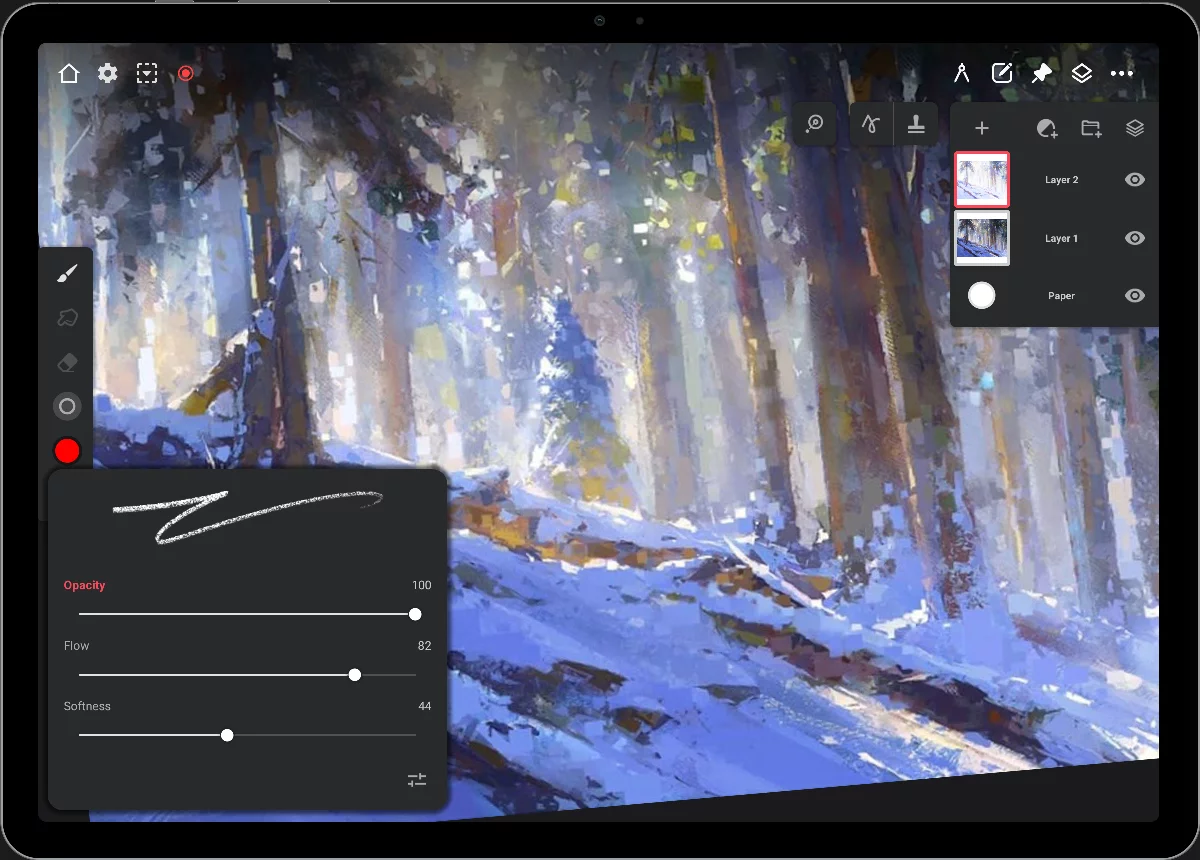
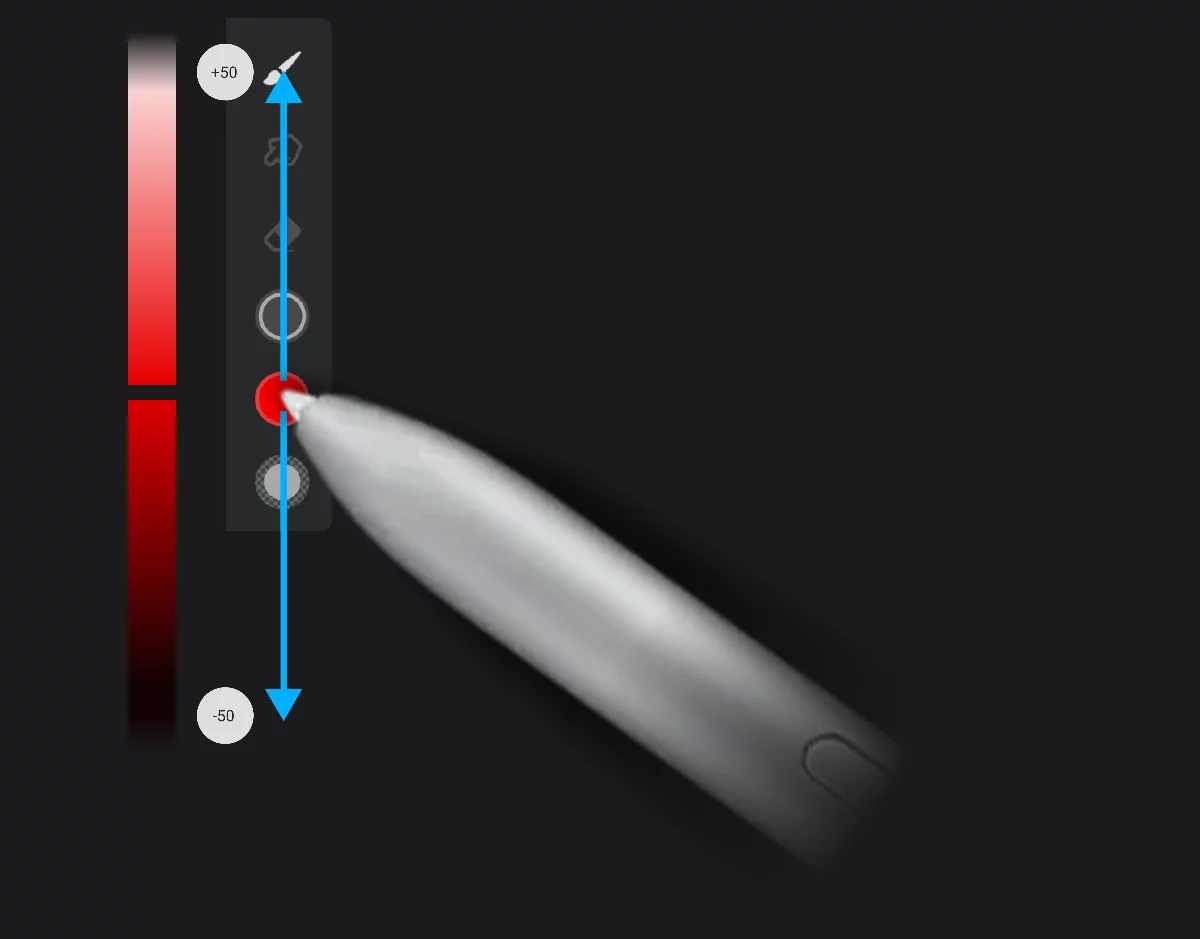
Brush Opacity button / indicator
Tap to open the Quick brush opacity adjustments .
Drag up/down to adjust the opacity of currently used brush.
This “virtual slider” may also be reassigned to control the flow of softness of the current brush. Lean more in Quick brush opacity adjustments.

Recent Colors strip (color history picker)
may be docked to the main toolbar. Learn more in Color history.
You can place the toolbar (almost) anywhere on the screen.
Drag it with two fingers and put where you want it.
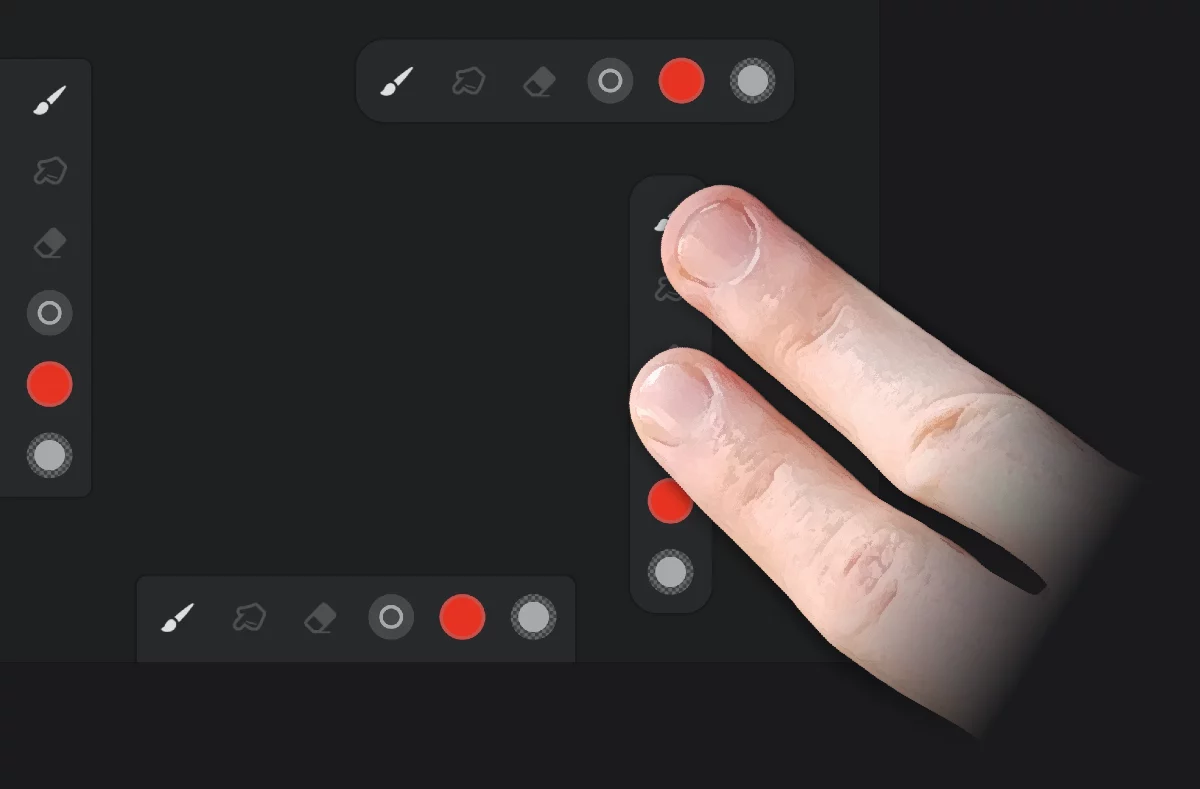
The toolbar snaps to the edges of the screen but may be positioned almost anywhere.
Main toolbar in corners
If you drag the main toolbar into one of the lower corners of the screen, it will be docked there in an alternative form. This is a legacy feature, however you can use the app in this configuration if you like it. Especially useful on smartphones as it saves the screen space.
Main toolbar docked in corners:
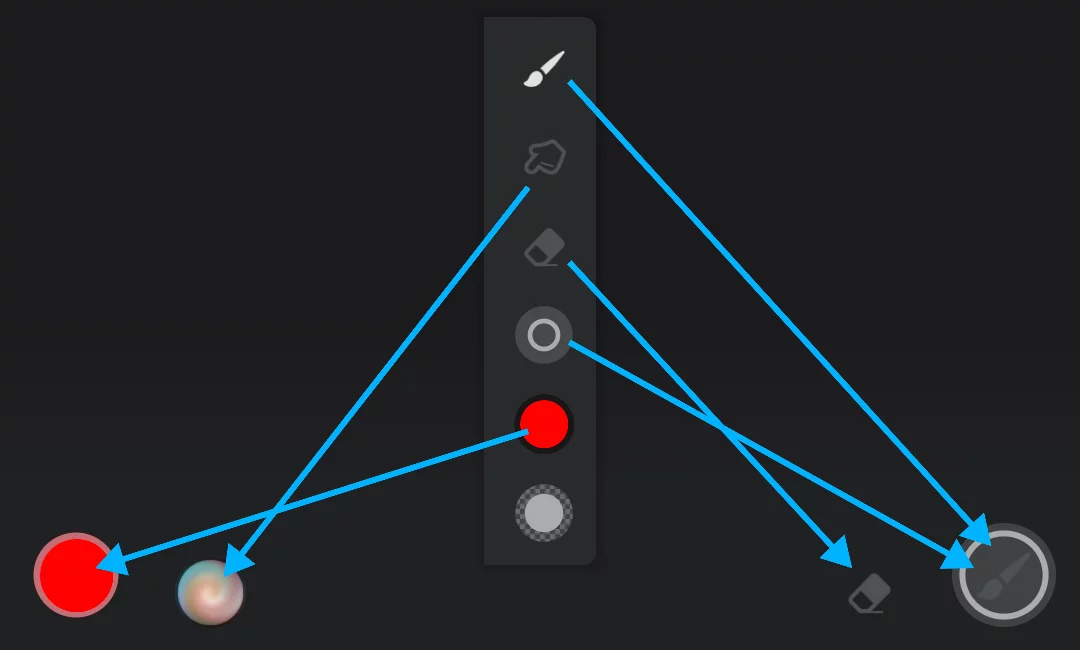
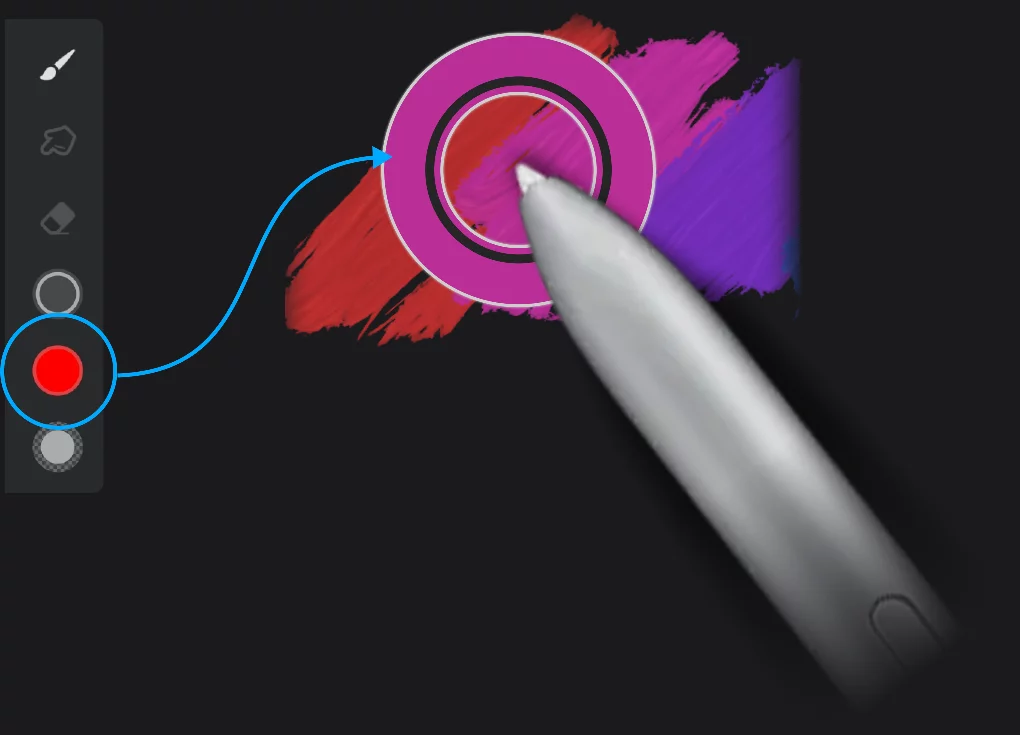
The current color indicator
Tap to pick another color (see below and in Color panel).
Drag out (a small distance) to adjust the brightness of the current color (opens a variant of a brightness slider).
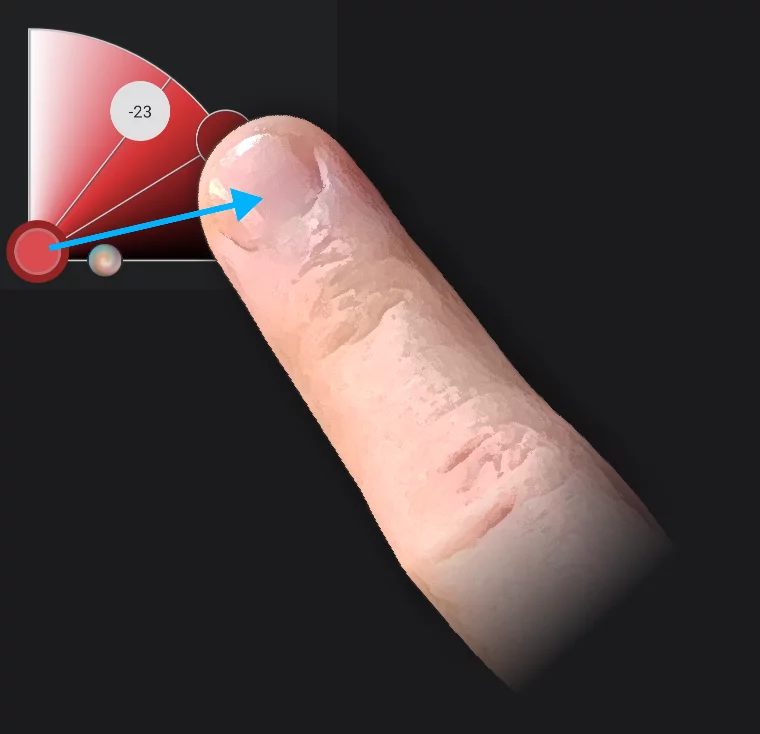
Drag out (a longer distance) for the Eyedropper tool (color sampler).
Paint mode
Tap to open the Brush selector and pick another brush for painting.
Drag out to adjust the brush size.
To undock the tools from the corners, long-press on any of the icons and drag the toolbar to any other position on the screen.
Current color indicator
It has hidden features.
The round color swatch on the main toolbar indicates the current paint color, but it is also a multi-functional controller.
Tap on the color indicator to open the main Color panel
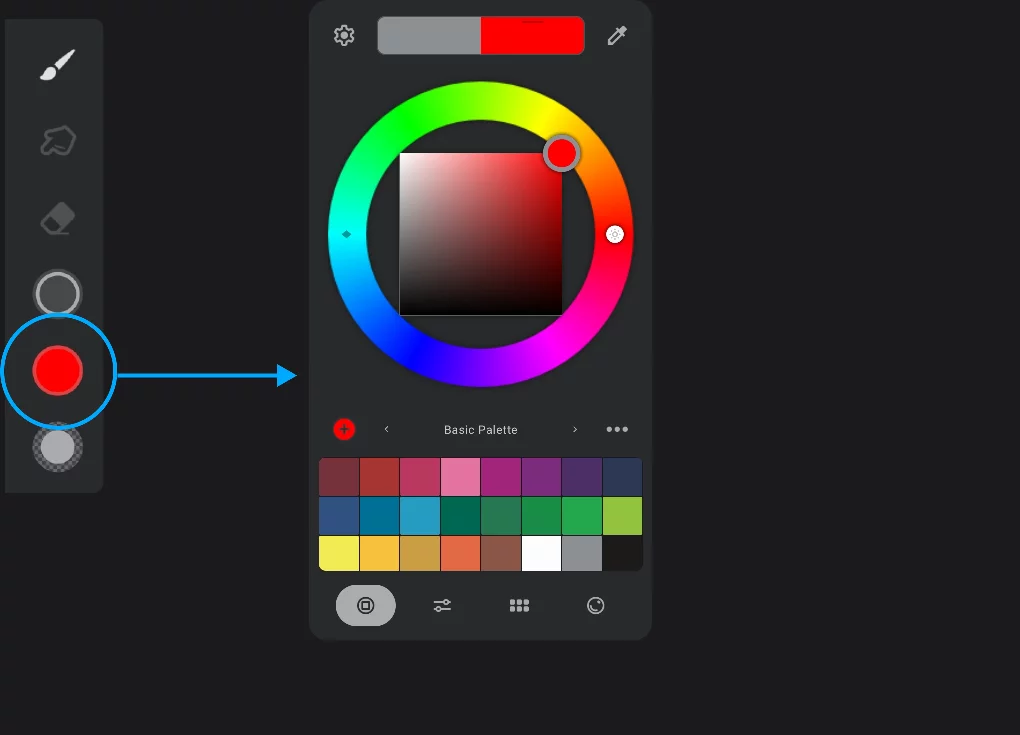
Learn more about using the Color panel to define colors in Color panel.
Drag up or down to adjust the brightness of the current color
This ‘virtual slider’, technically, adjusts the HSB brightness of the current color. Learn more about the color models in Digital color.
Adjusting the brightness with the virtual slider preserves the Hue value even if you reach black or white (0% or 100% Brightness). You can also adjust the brightness with the color wheel or with the HSB color sliders (see Color panel.
Note that when the main toolbar is oriented horizontally, you have to drag horizontally too.
Drag out from the indicator to start the Eyedropper tool. See Eyedropper tool .
Naturally, if the main toolbar is oriented horizontally, you would have to drag perpendicularly to it (so vertically) to trigger the Eyedropper.
This feature works also when the toolbar is docked in the corner of the screen.
Undo system
You can always backtrack.
Infinite Painter allows you to undo any mistake; usually more than one mistake.
![]()
Undo button
Tap to undo last action.
Learn below how to quickly undo multiple steps.
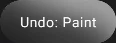
Long-press on the Undo button to quickly clear all the contents of the current layer.
Note that clearing the layer deletes your painting on this layer permanently. You can still undo this operation, but be careful.
![]()
Redo button
(Appears only when undo has been used at least once.)
Tap to undo the undo.
You can use two-finger-tap gesture to quickly undo mistakes (and three-finger-tap for redo).
Learn more about using gestures in Infinite Painter in Gestures.
Undo history
Correct huge mistakes. Or just experiment safely.
Infinite Painter allows you to undo multiple steps. Tap the undo button once and the history button appears.
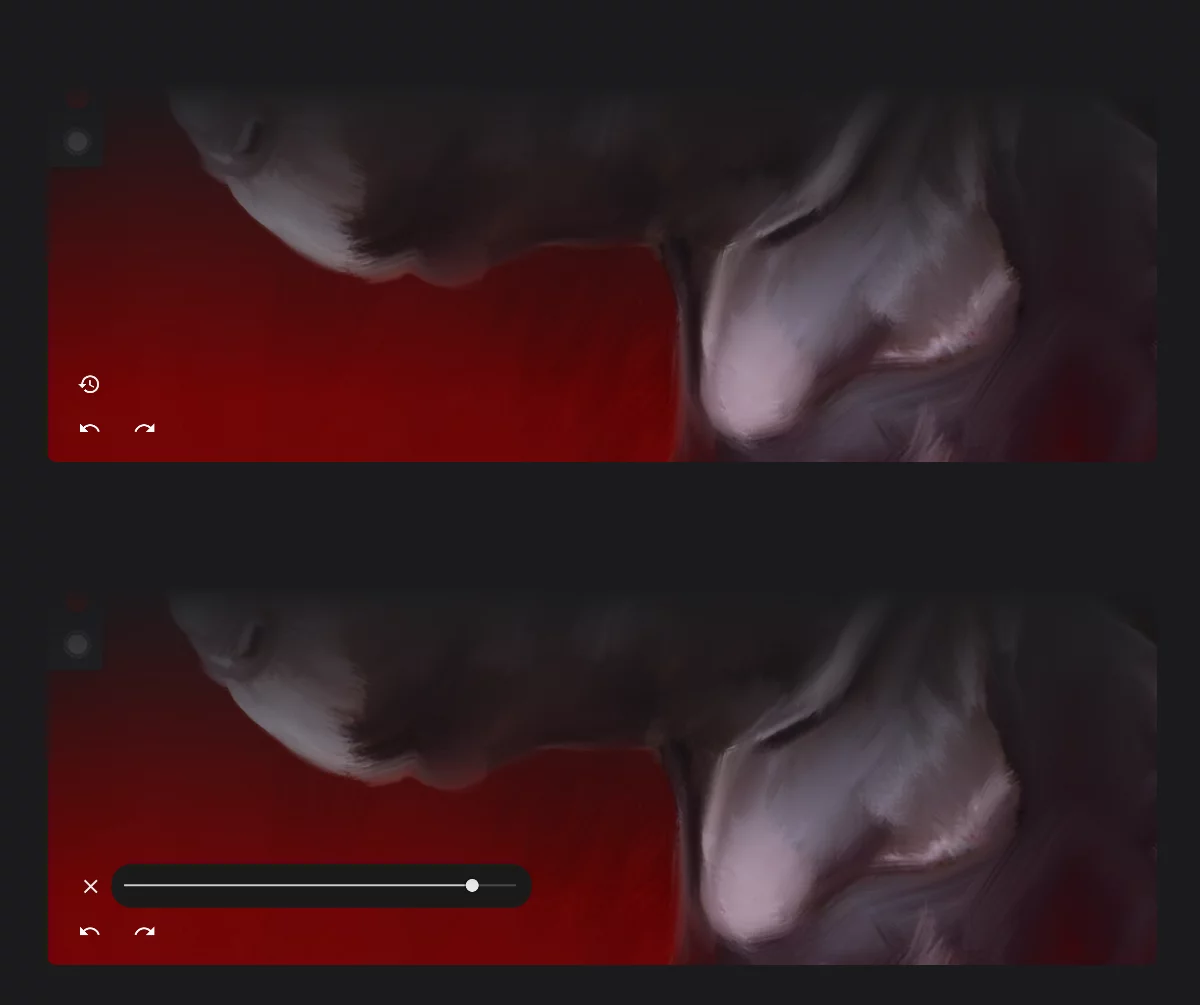
![]()
History button
Tap to open the undo history slider.
![]()
Redo button (appears after the first undo).
![]()
Close the slider
Tap to hide the undo history slider
Undo history slider
Drag left to quickly undo multiple steps; drag to the right to redo them.
Note that the number of available undos is limited. In version 7 it is 64 steps. Single undo step may be a short brush stroke or a complex operation like merging multiple layers. If you reach the limit of the possible undo steps and still need to return back in time, try using the version history feature; you may return to any previously saved version of your project. See Project version history.
Please note that the undo system works only within a single session. If you save, close and reopen your project, you will not be able to undo actions from the previous session.
On-screen feedback system
Your head-up display
Infinite Painter displays vital information in the upper part of your screen.

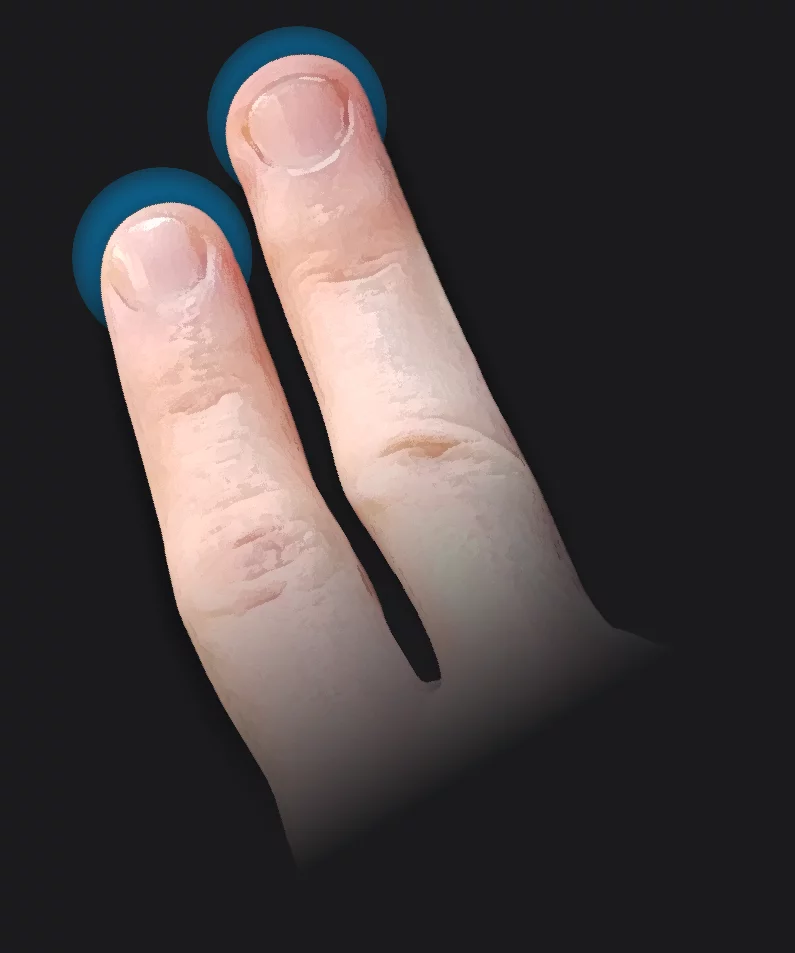
Numerical readout (here: the brush size)
Visual readout (here: the brush size)
Inner ring shows current size of the brush.
Outer ring shows max size of given brush.
Brush settings like size, opacity, flow have real-time on-screen numerical readouts.
Note that the brush size indicator shows the brush size relative to the current zoom level, so the displayed size always shows the actual size of the brush. However, this also means that the indicator may sometimes occupy the entire screen for large brushes in high magnification (zoom).
Several other functions like undo system report on screen as well.
Among the others, the undo system will notify you in the HUD each time you press undo or redo buttons.