Brushes in Infinite Painter
There are more of them than you expect.
The term “brush” in Infinite Painter describes any tools that simulates the functionality of a real-world paintbrushes but also of other drawing and painting utensils. So a calligraphic nib or a palette knife would be called “brushes” as well.
In general, any tool in Painter that follows your stylus or finger in real time, is a brush. Brushes can not only apply a selected color to your artwork but also mix colors, erase them or copy pixels from other parts of the canvas.
Infinite Painter comes with a large collection of built-in (default) brushes.
Learn more about finding brushes in Basic brush controls.
You can create new brushes yourself.
Learn how to use Brush Creator in Adding new brushes.
You can edit properties of any brush.
Learn how to use the Brush Editor in Brush editing.
You can download new brushes from the Community.
For free. See Adding new brushes.
You can download brush sets from the web.
There are third-party vendors who offer pro quality brushes. More in Adding new brushes.
Brush modes
You can use any brush for any task
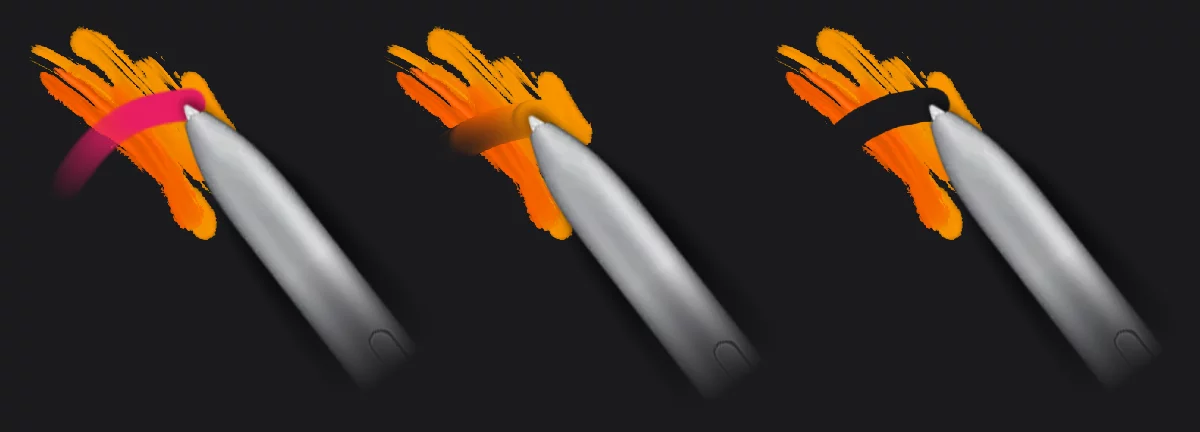
Infinite Painter provides three basic brush modes for your creative process:
![]()
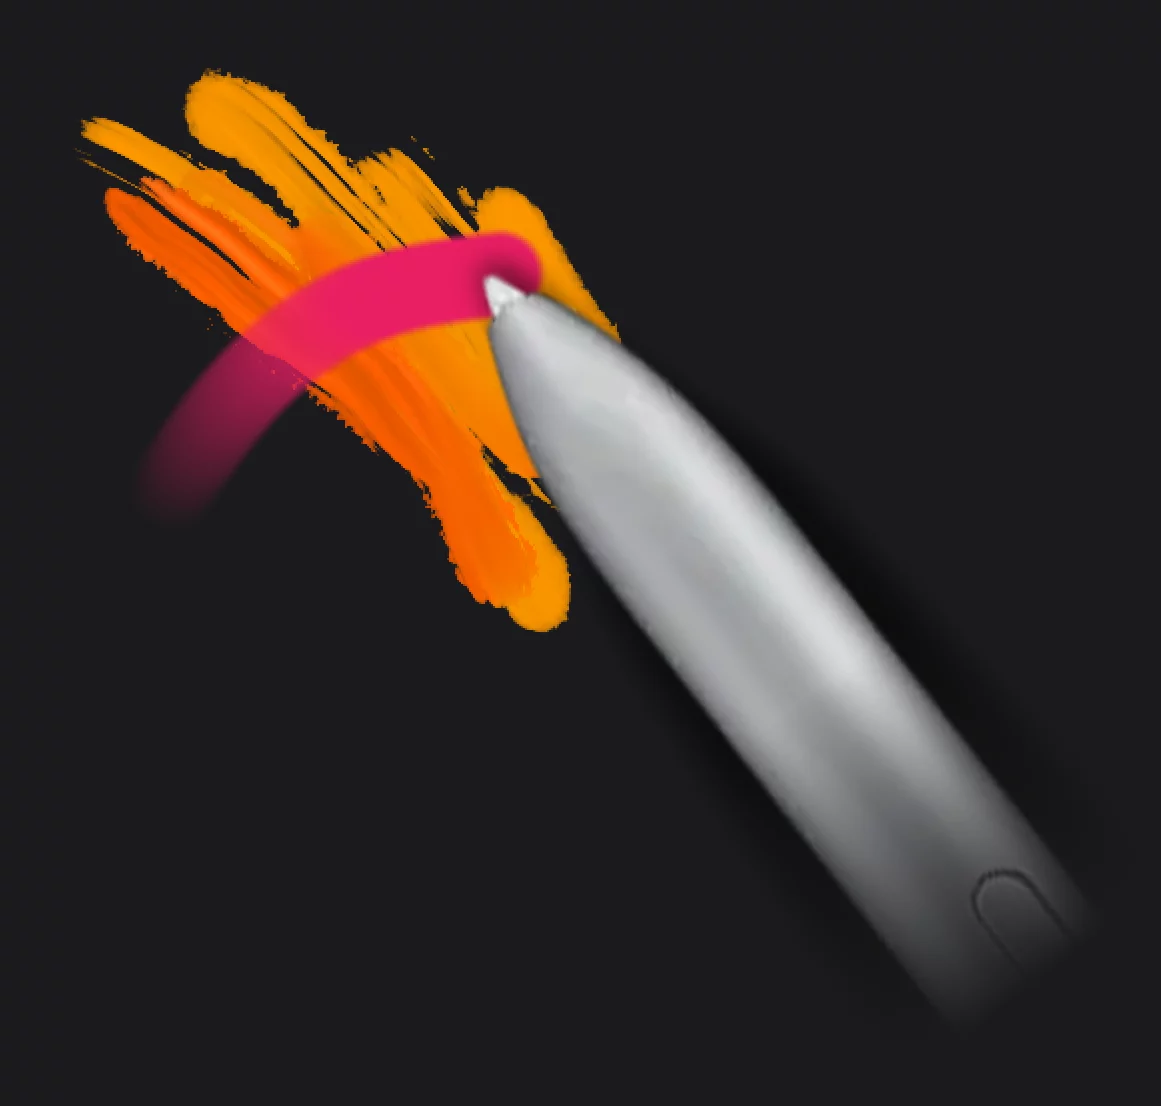
Paint mode — the brush adds color to current layer
![]()
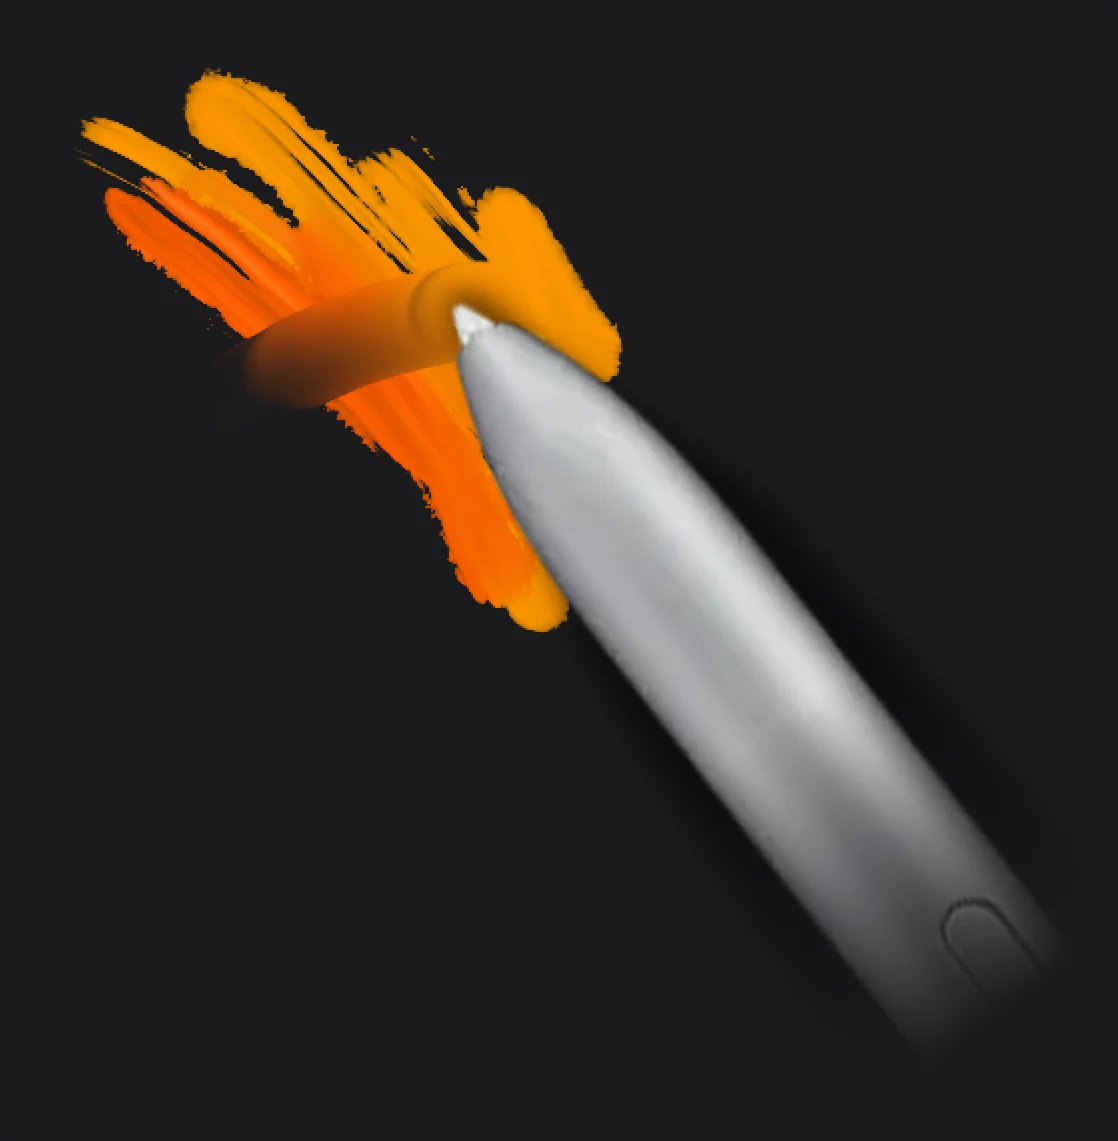
Blend mode — the brush blends or smears existing colors
![]()
Erase mode — the brush removes unwanted colors from the layer

You switch the modes on the main toolbar (see General controls).
![]()
If you are using a physical keyboard, press B key for Paint mode, K for Blend mode, E for Erase mode. For list of all keyboard shortcuts see Keyboard shortcuts.
You can assign one mode to your finger while using the stylus for another. More about that in Application settings.
In each mode you have access to every brush from your collection. Note that there are a few specialized brushes that may not work well in certain mode.
![]()
Besides Paint, Blend and Erase, the Clone tool is, in a way, a separate “brush mode”. Learn more in Cloning.
Paint mode
Paint; sketch; draw. Apply effects too.
Paint mode is the basic way of using brushes: to apply color.
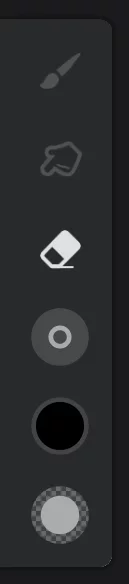
Main toolbar

The Paint mode indicator
tap it again to select another brush (more on selecting brushes in Brush selector).
Learn more about adjusting current brush size, opacity and other attributes in Brush — basic adjustments.
You can use (almost) any brush from your collection in Paint mode. There are however brushes that are designed for blending only like the Colorless Blender or Palette Knife; these will not add color. Special effects in brushes work only in this mode. Learn more about adding filters and adjustments to brushes in Brush filters and color adjustments.
Blend mode
Mix colors on your canvas.
In the Blend mode the brush blends or smears existing colors on the active layer.
The effect highly depends on the brush used.
You can use (almost) any brush from your collection in Blend mode. Certain special effect brushes may yield unexpected results when used for blending. Note that special effects in brushes are ignored in this mode.
Learn more about adding filters and adjustments to brushes in Brush Editor — Special tab.
Main toolbar in the Blend mode
![]()
The Blend mode indicator
Tap again to select another brush (more on selecting brushes in Brush selector)
![]()
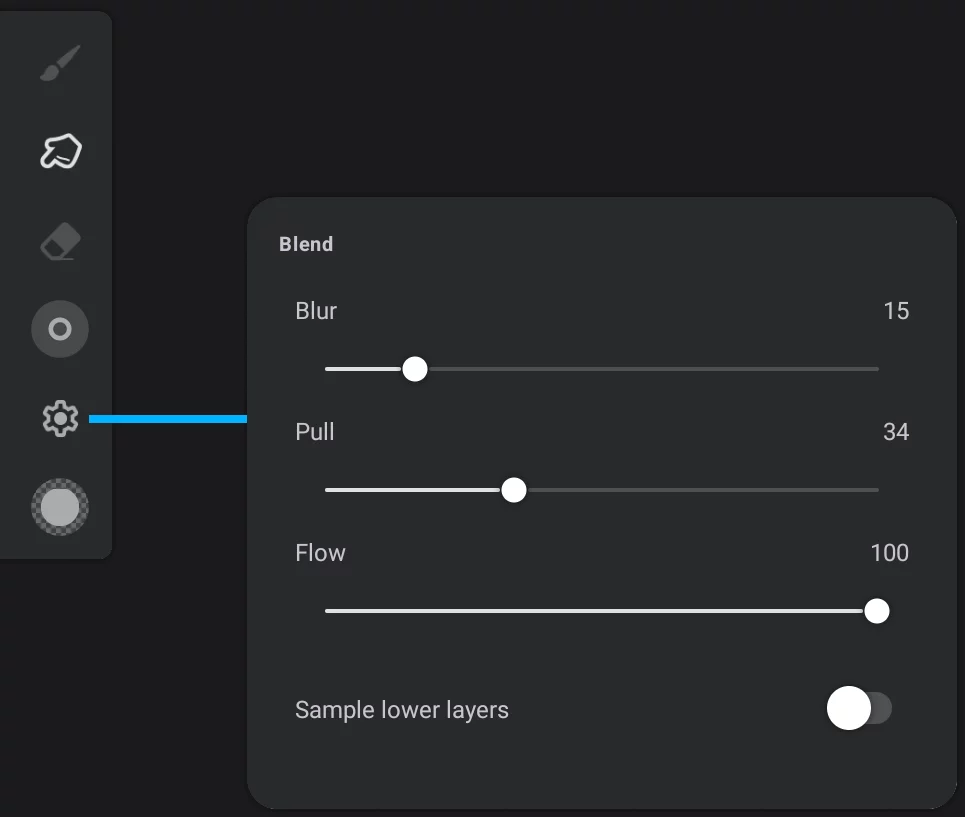
Note that the color indicator turns into a cogwheel icon. Tap the icon to open the Blend mode settings panel.
Blur
Blurs the pixels and creates softer blending. At 0, this transfers the individual pixels (like a paintbrush would).
Pull
Defines the rate at which the underlying color transfers to the brush head. Smaller values create a shorter smudge while higher values hold the smudge longer.
Flow
Multiplies with the Flow in the head setting specifically when blending. This can create softer blends. Do not confuse it with the main Flow parameter.
Sample lower layers
If turned on, the brush "catches" the colors not only from the active layer but also from all layers below it. Even if the lower layers are sampled for color, the blending is applied only to the active layer.
“Sample lower layers” is a global setting (applies to all brushes in Blend mode).
Having “Sample lower layers” option active allows you to keep the results of the blending on a separate layer, leaving your original artwork intact.
Note that the Blur, Pull and Flow parameters in the Blend mode settings panel are the same as can be found in the Paint tab of the Brush Editor. These settings apply to the current brush only and are stored in the current brush definition.
Erase mode
Correct the errors. Or just create a negative space.
In the Erase mode the brush turns into eraser. Note that you are erasing the pixels from the active layers only.

You can use any brush from your collection in the Erase mode. Note that special effects in brushes are ignored in this mode. Learn more about adding filters and adjustments to brushes in Brush Editor — Special tab.
Main toolbar in the Erase mode
![]()
The Erase mode indicator
tap again to select another brush (learn more on selecting brushes in the description of the Brush selector).
Learn more about adjusting current brush size, opacity and other attributes in Brush — basic adjustments.
The erased areas become transparent and reveal the layers below (if present) and the Paper layerPaperA special layer at the bottom of the layers’ stack: the background of the artwork. The Paper can have a solid color fill and (optionally) a texture.Learn more (if visible). Learn about layers and Paper in the Layers chapter (Using layers).
If you want to erase the entire layer, use the Clear button in the layer options (see Using layers) or long-press on the Undo button).