What are "Masking" modes
Unique to Infinite Painter.
There are three special blending modes in Infinite Painter that are not found in any other graphic software:
These blending modes turn the LayerLayerA layer is a separate RGBA image (usually) of the size of the canvas. Layers can be stacked on top of each other. into a smart mask for all the layers below.
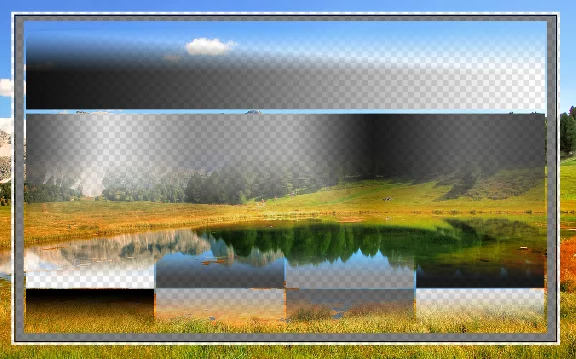
Erase mode
Cut with the opacity.
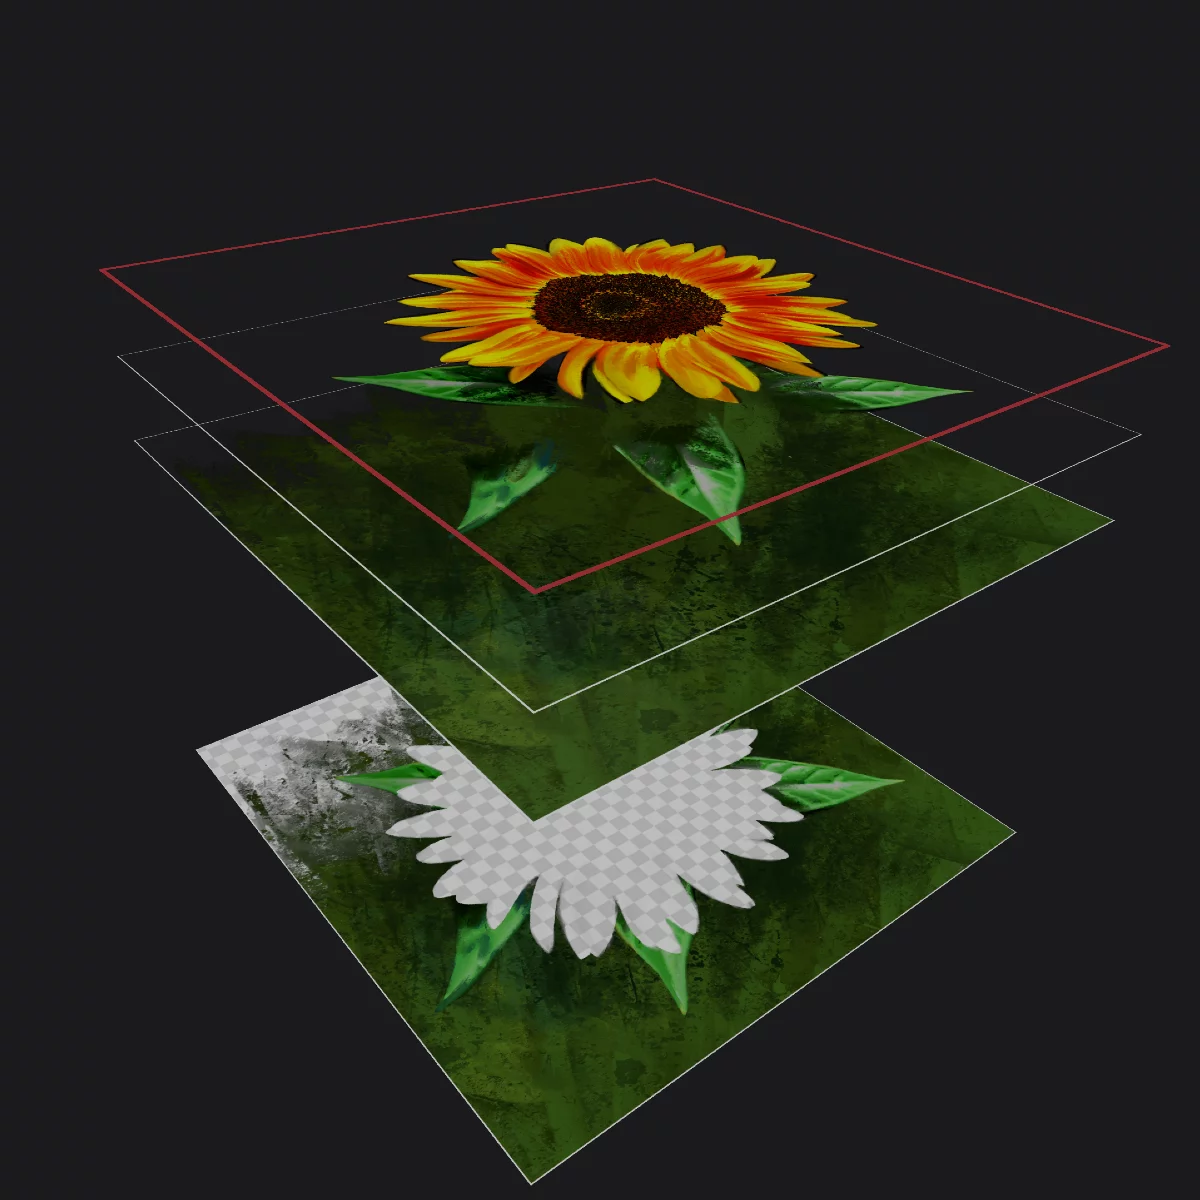
The result
Opaque pixels from the upper layer "cut" through the layers below. Opaque areas mask out the content, transparent pixels reveal the content.
Applying the Erase blending to a brush in Paint modePaint modeThe main and default mode of using a brush in Infinite Painter. The brush applies the color to the active layer.
Brushes with filters or color adjustment functions may apply the special effect instead of the color in Paint mode.Learn more turns it into an eraser (thus practically changing the brush mode to Erase modeErase modeOne of the main three brush modes. The brush erases color from the current layer to transparency.Learn more).
See Brush modes on how to change blending mode in brushes.
Erase
Special masking mode using the foreground layer's opacity to erase the content of the background layers. Of course the erasing is not permanent.
Use it for quick masking.
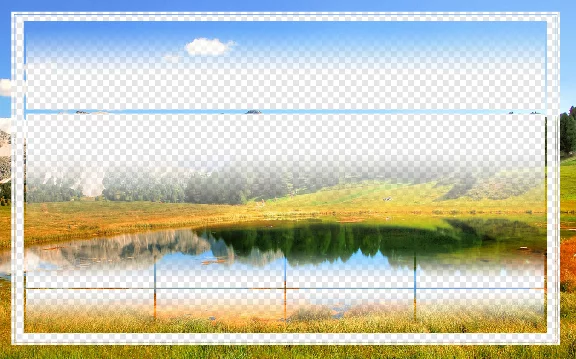
Normal blending mode for reference

(The checkering represents transparency)
Back to Color blending modes — detailed reference.
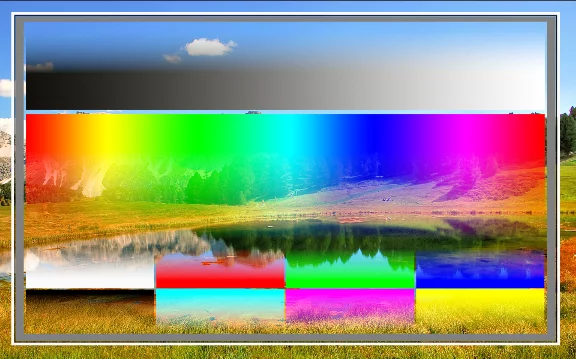
How to read the blending modes illustrations? See Guide for the color blending reference.
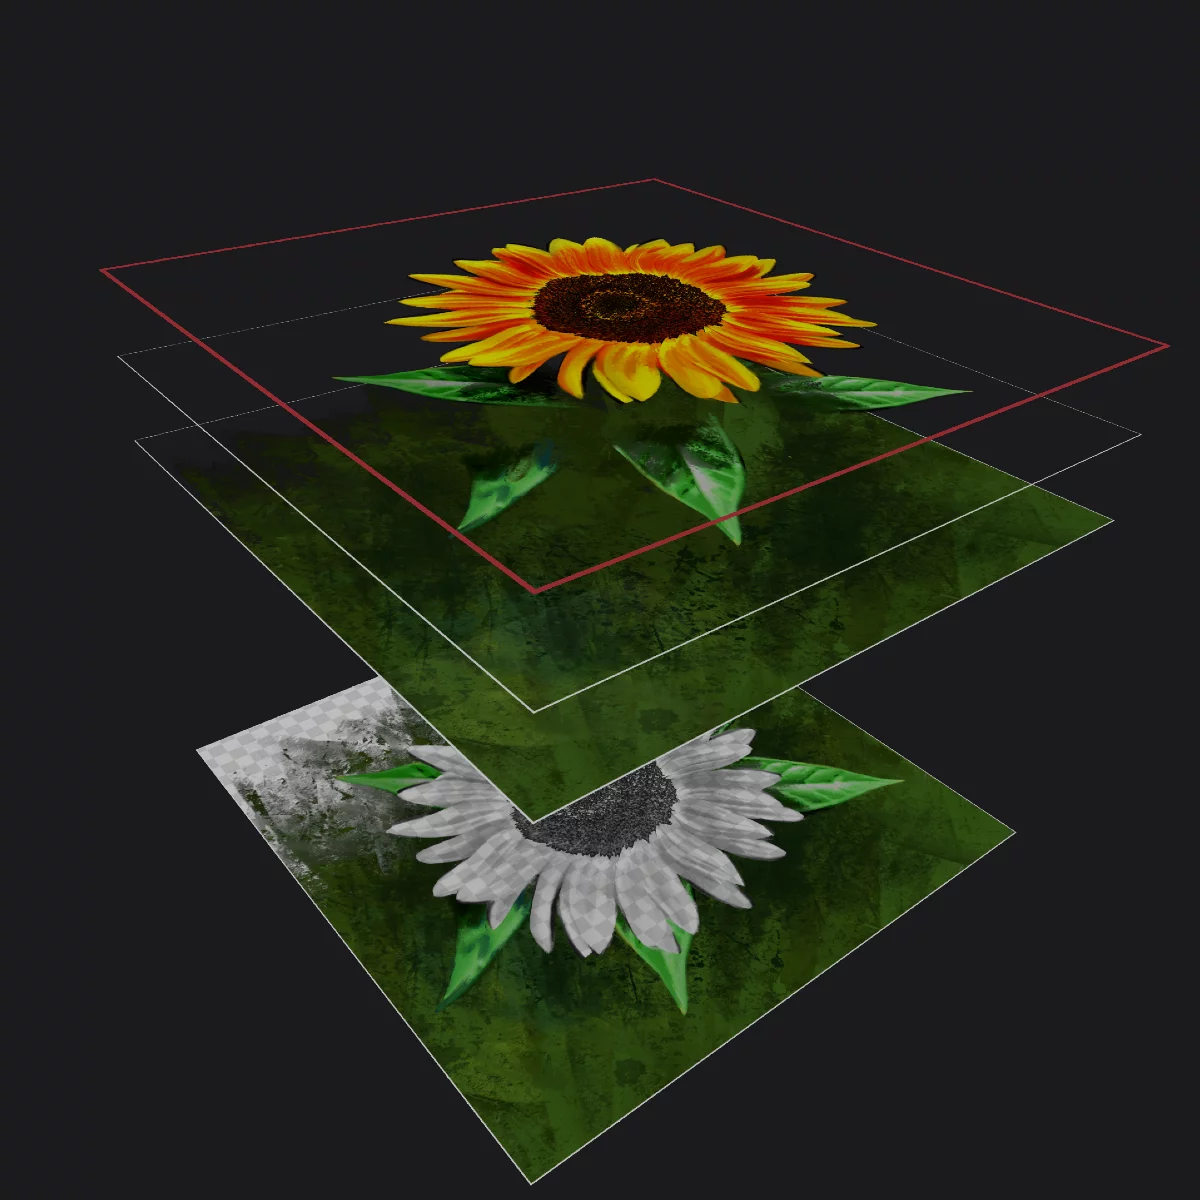
Mask mode
Cut with the grayscale.
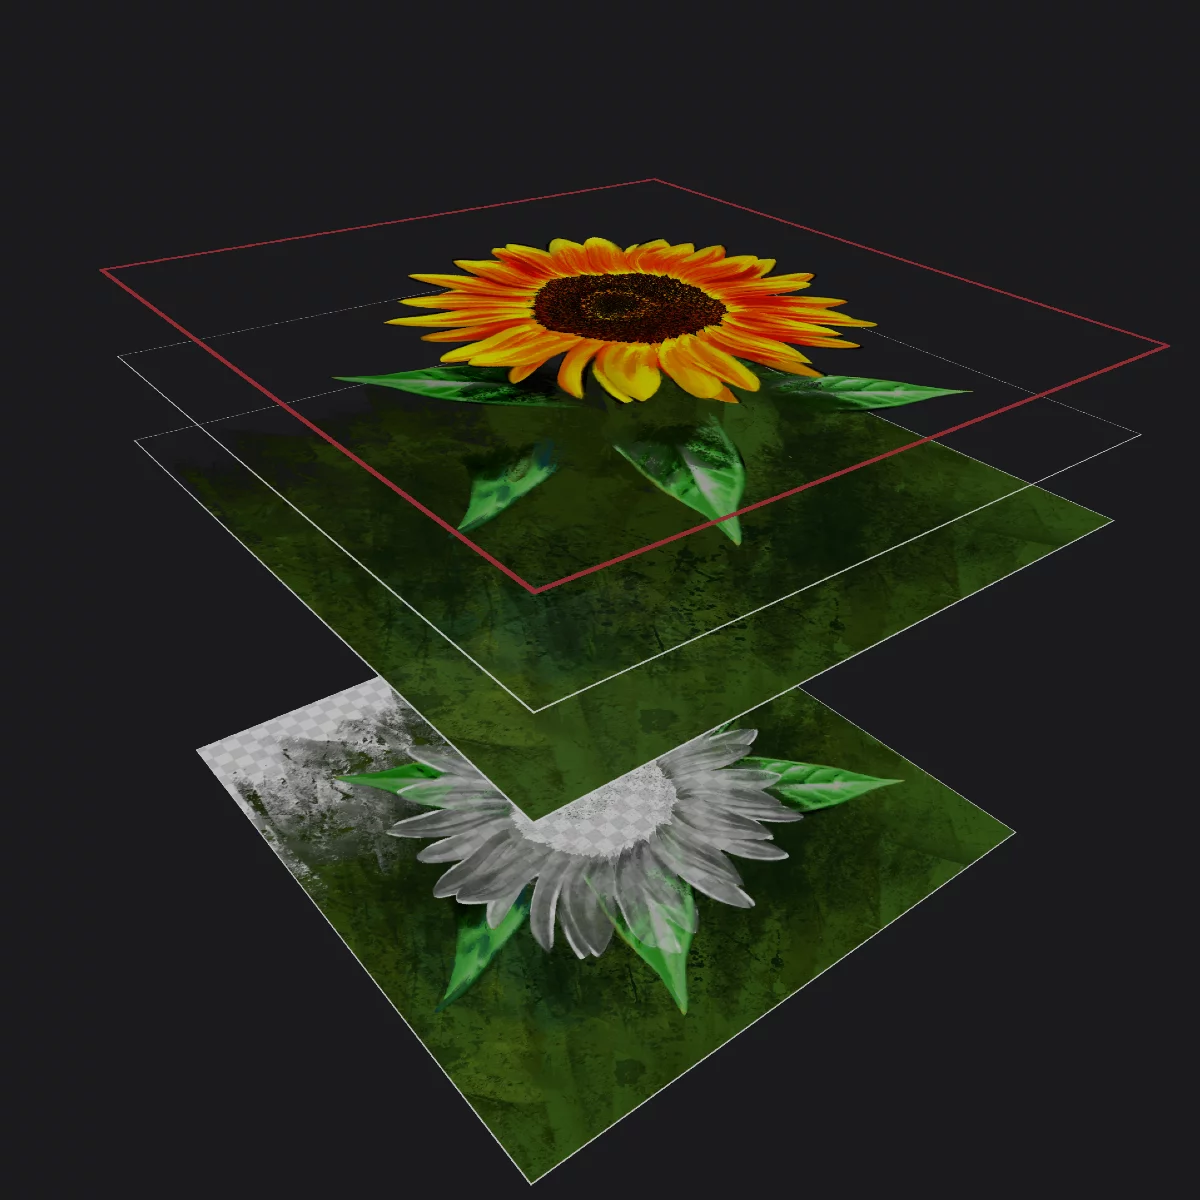
The grayscale component of the layer masks the layers below. Dark areas mask out the content, white and transparent areas preserve the content visibility.
Use the Erase and Mask modes to quickly add a mask for a number of layers or for the entire artwork. Note that the effect will be exactly the same as grouping the layers and adding a mask to this group; only faster.

Mask
Special masking mode using the foreground layer's grayscale component to mask out the background layers. What is dark on the "mask" layer, will be transparent, what is bright
(white) or transparent – will be preserved.
Use it for quick masking.
Normal blending mode for reference

(The checkering represents transparency)
Back to Color blending modes — detailed reference.
How to read the blending modes illustrations? See Guide for the color blending reference.
Line Art mode
Pro tool for the illustrators.
The darkest areas remain visible.
The grayscale component masks out the layers below, but the darkest parts of the layer remain visible. This mode works like the Mask mode but the blacks (like line art) from the layer remain visible.
Use Line Art mode to compose line art on multiple layers.
Use black for the lines and white for masking. Transparent foreground will reveal the lower layers.
Line Art
Special masking mode using the foreground layer's grayscale component to mask out the background layers but preserving the darkest parts of the foreground layer.
Line Art mode simultaneously masks out background like the Mask mode and adds the darkest areas of the overlay (as line-art).
This allows for creating multiple line-art layers with invisible masks in each of them: black lines are visible, white areas mask out the background.
Normal blending mode for reference

(The checkering represents transparency)
Back to Color blending modes — detailed reference.
How to read the blending modes illustrations? See Guide for the color blending reference.