Filter quick masks
Exactly like the color adjustment masking.
Quick masking functions let you quickly restrict the effect of a filter to defined areas of the image without laborious manual masking. Focus and Tilt-shift masks are based on geometry, all the others are related to the color or tonal characteristics of the image.
The quick masks may be used in conjunction with the regular Selection tools.
If no mask is defined, the filter affects the entire current layer.
The quick masking system is common for the Filters and the Color Adjustments. Compare with Masking in color adjustment tools.
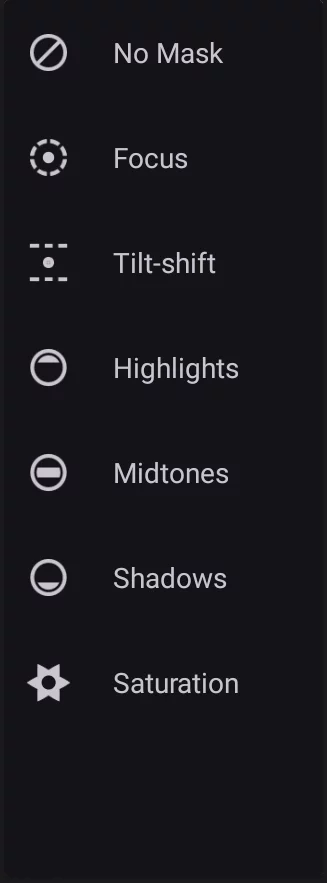
Quick mask selector on the Filters toolbar


![]()
No Mask (default)
The filter affects the entire layer.
Note that "No Mask" option may still use the global selection mask if defined beforehand.


If you had a SelectionSelectionA selection is a defined region of your canvas that can be used to edit its content or to limit the application of painting tools (like a stencil). Technically, a selection is an 8-bit (grayscale) mask image which defines the selected vs. masked areas of the canvas. defined before starting the Filters tool, it will be used directly in "No Mask" mode; any internal (quick) mask will be superimposed over the global selection mask.
You can turn off the global mask from within the Filters workspace using the button of the top bar.
Learn more about selections in Selection tools chapter.
![]()
Focus mask
Focus on a spot.
Focus mask creates a soft-edged circular selection mask You can adjust the mask’s diameter and the softness of the edges in real time.
Focus mask
applied to 50% Blur filter:

Center point
Drag to reposition the entire mask.
Inner ring
Drag to resize the “100% strength” area.
Outer ring
Drag to resize the “0% strength” area.
Focus mask inverted
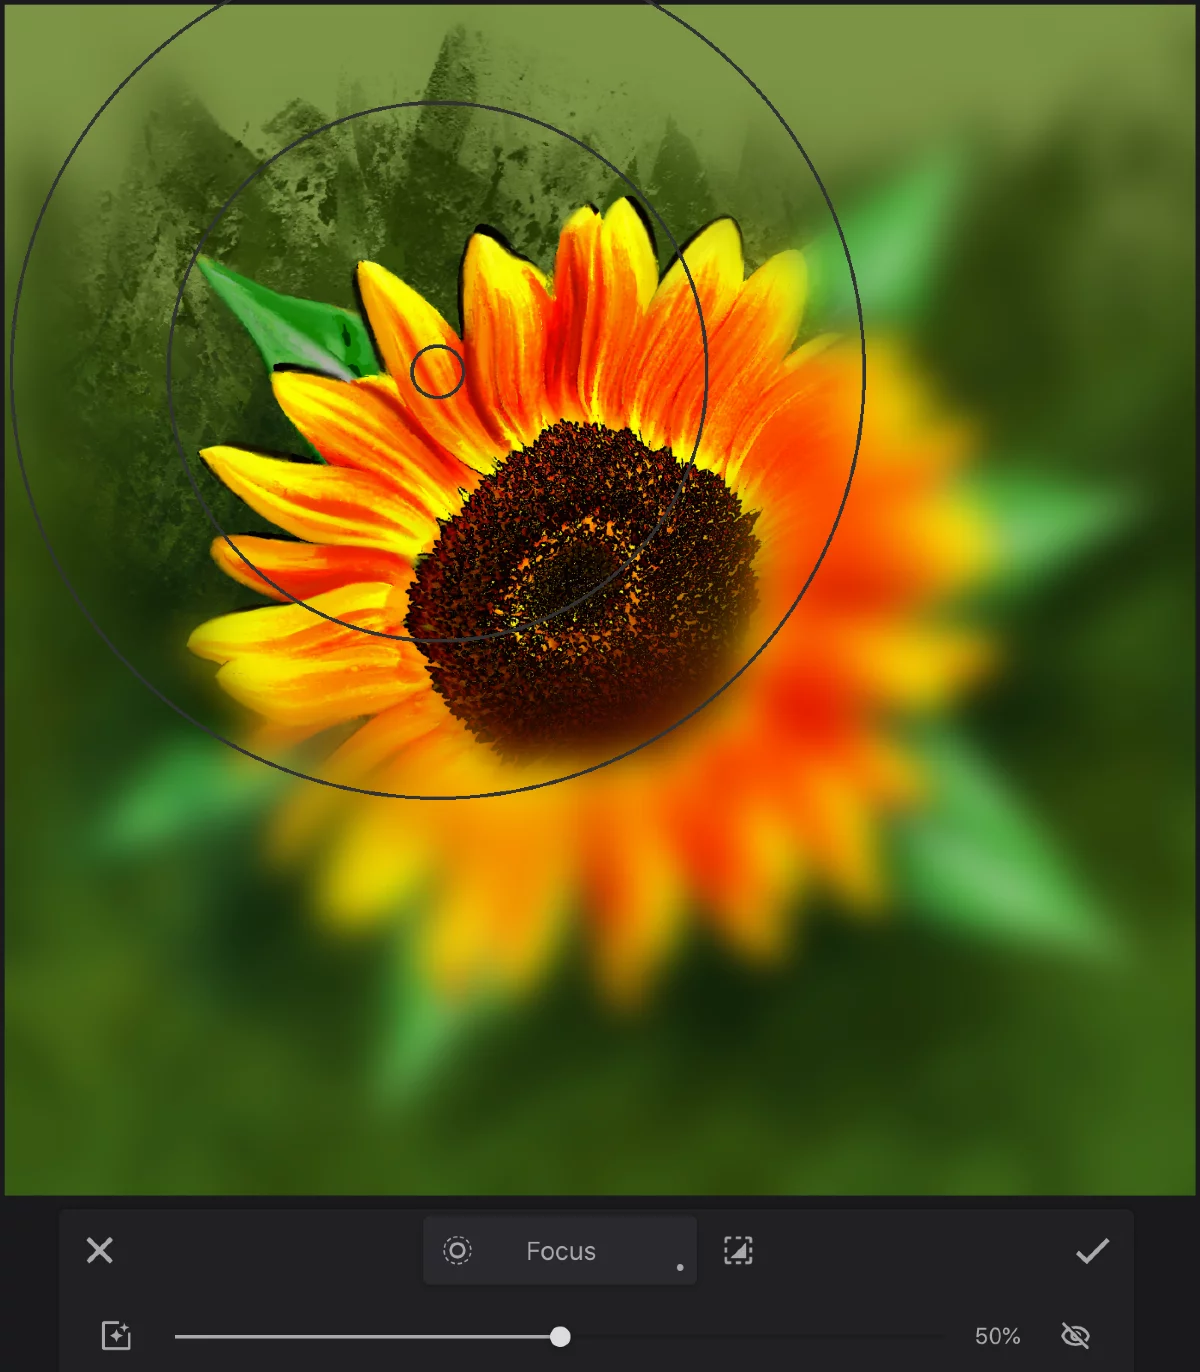
The farther away from each other the rings are, the softer the mask edge will be.
Tip: If you drag the inner and outer rings over each other you get a hard-edged circular mask.
You can combine the Focus mask with a selection mask created with any of the Selection tools Learn more about selecting areas of your artwork in the Selection tools chapter.
![]()
Tilt-shift mask in filters
For photo effects. And for many other uses.
Tilt-shift mask creates a soft-edged linear selection mask.
You can adjust the mask’s width, angle and the softness of the edges in real time.
>Tilt-shift mask
applied to 50% Blur filter:

Center point
Drag to reposition the mask. It is also the center of rotation.
Inner edge
Drag to resize the 100% strength area
Outer edge
Drag to resize the 0% strength area
Tilt-shift mask inverted

Drag anywhere between the inner edges to rotate the mask around the center point.
The mask snaps to 45° directions when rotated.
The name of the mask comes from the "tilt-shift" effect used in professional photography. You can use it with the Blur filter to simulate this effect.
The farther apart the edges are, the softer the mask edge will be.
If you drag inner and outer edges over each other you get a hard-edged linear mask.
You can combine the Tilt-shift mask with a selection mask created with any of the Selection tools. Learn more about selecting areas of your artwork in the Selection tools chapter.
![]()
Saturation mask in filters
Applies filters to areas based on saturation.
Saturation mask creates a mask based on the current layer’s saturation.
More saturation, more adjustment is applied.
Saturation mask applied to 50% Blur filter:
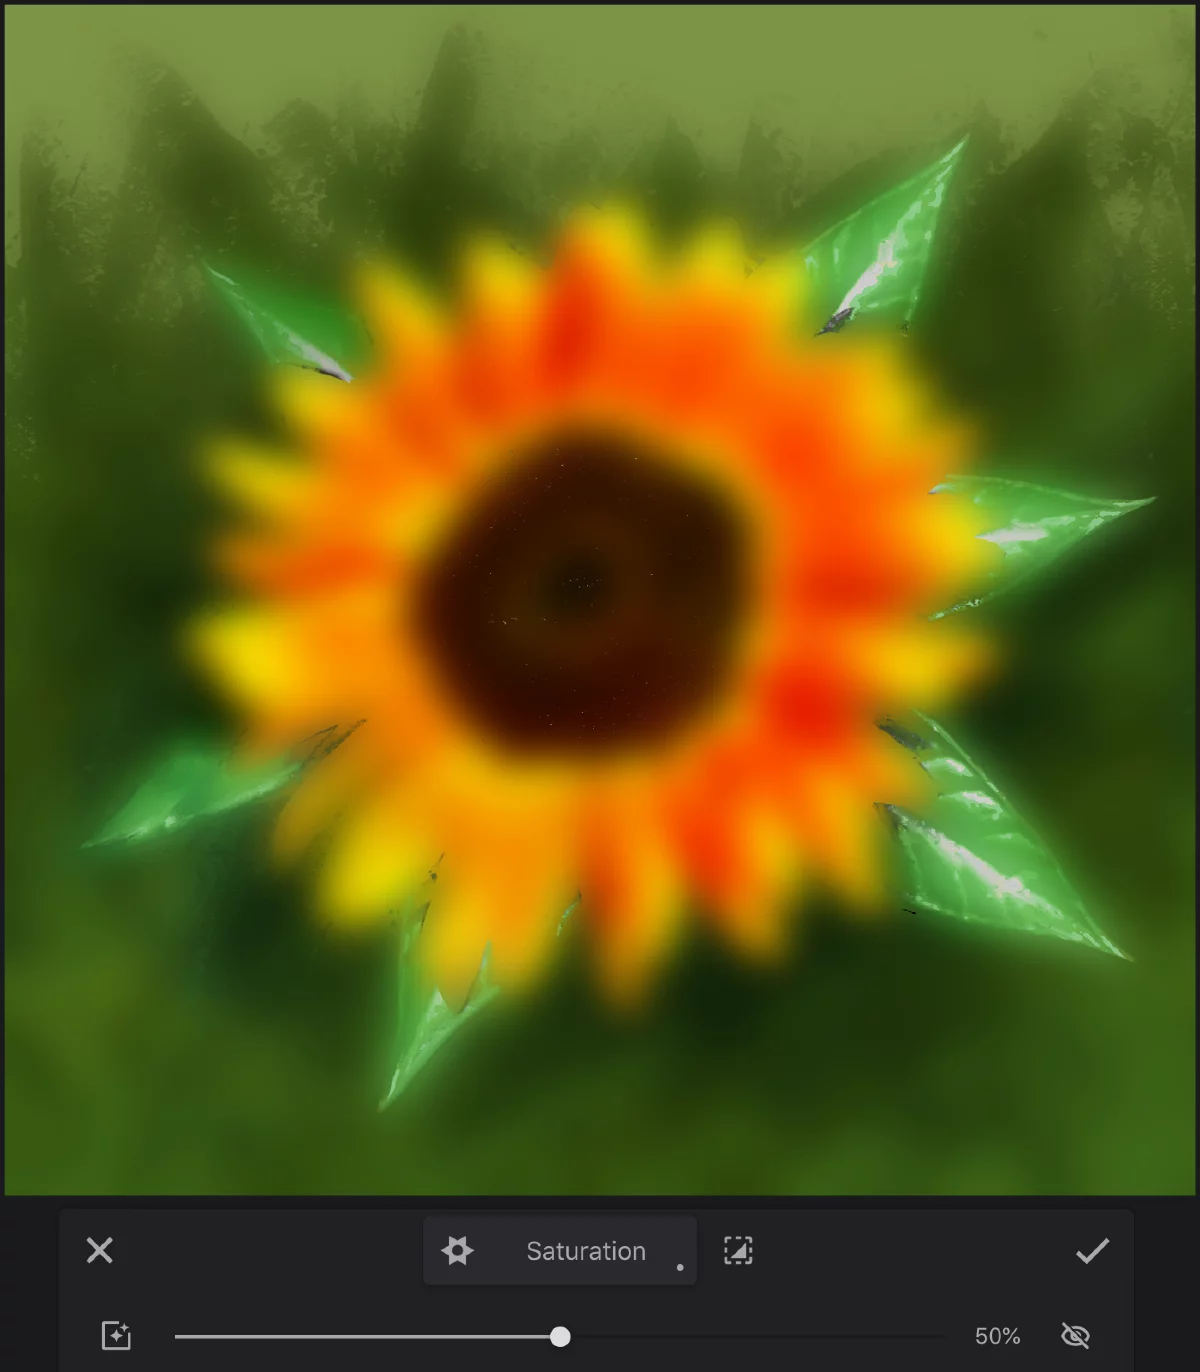
The most saturated areas are the most affected by the filter.
Saturation mask inverted.
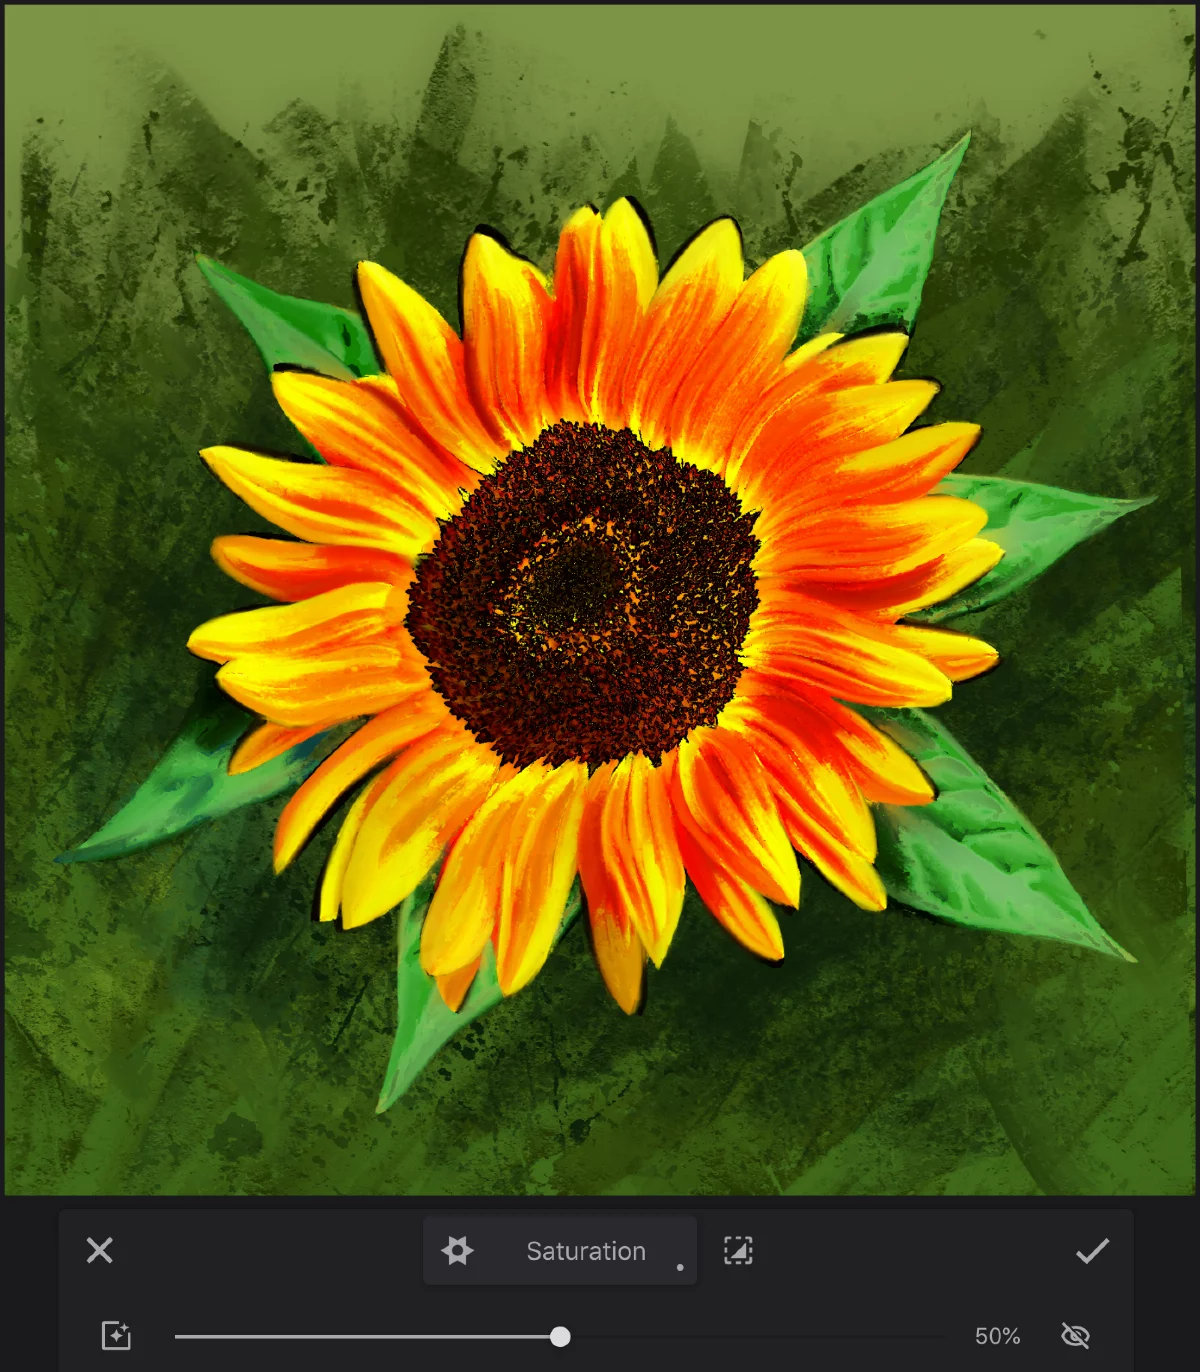
Now the least saturated areas are blurred.
(As the test image contains very few unsaturated colors, the effect is hardly visible)
You can combine the Saturation mask with a selection mask created with any of the Selection tools
Learn more about selecting areas of your artwork in the Selection tools chapter.
Tonal masks in filters
Apply filters to highlights, midtones or shadows.
Tonal masks create a mask based on the current layer’s brightness, divided into three preset ranges (HighlightsHighlightsHighlights are the brightest areas of an artwork where light hits the surface most directly. In digital art, these are defined by the highest values of brightness., MidtonesMidtonesIn painting and digital art, midtones refer to the range of tones or colors that fall between the darkest shadows and the brightest highlights. They represent the average or middle values of the brightness. and ShadowsShadowsShadows are the darkest areas of an artwork where light is blocked or least present. In digital art: the areas of the image with pixels with the lowest brightness.).
![]()
Highlights

Highlights mask applied to 50% Blur filter.
The lightest areas are the most affected by the filter (the effect is hardly visible in this example).
![]()
Midtones
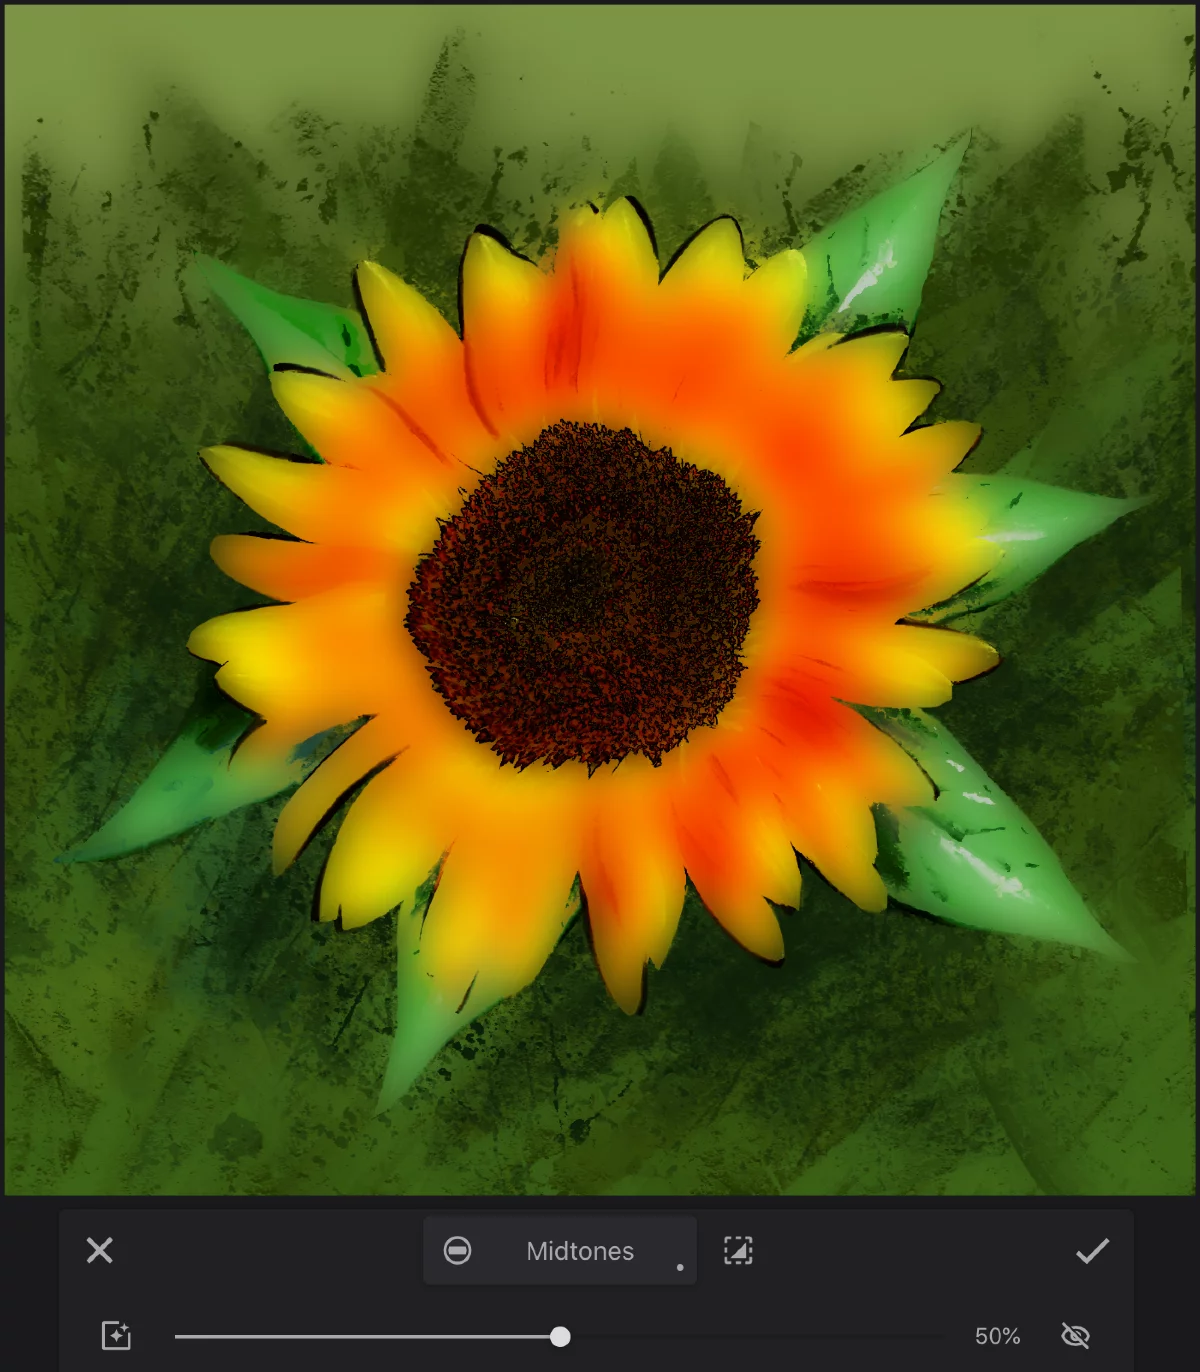
Midtones mask applied to 50% Blur filter.
The mid-tone areas are the most affected by the filter.
![]()
Shadows
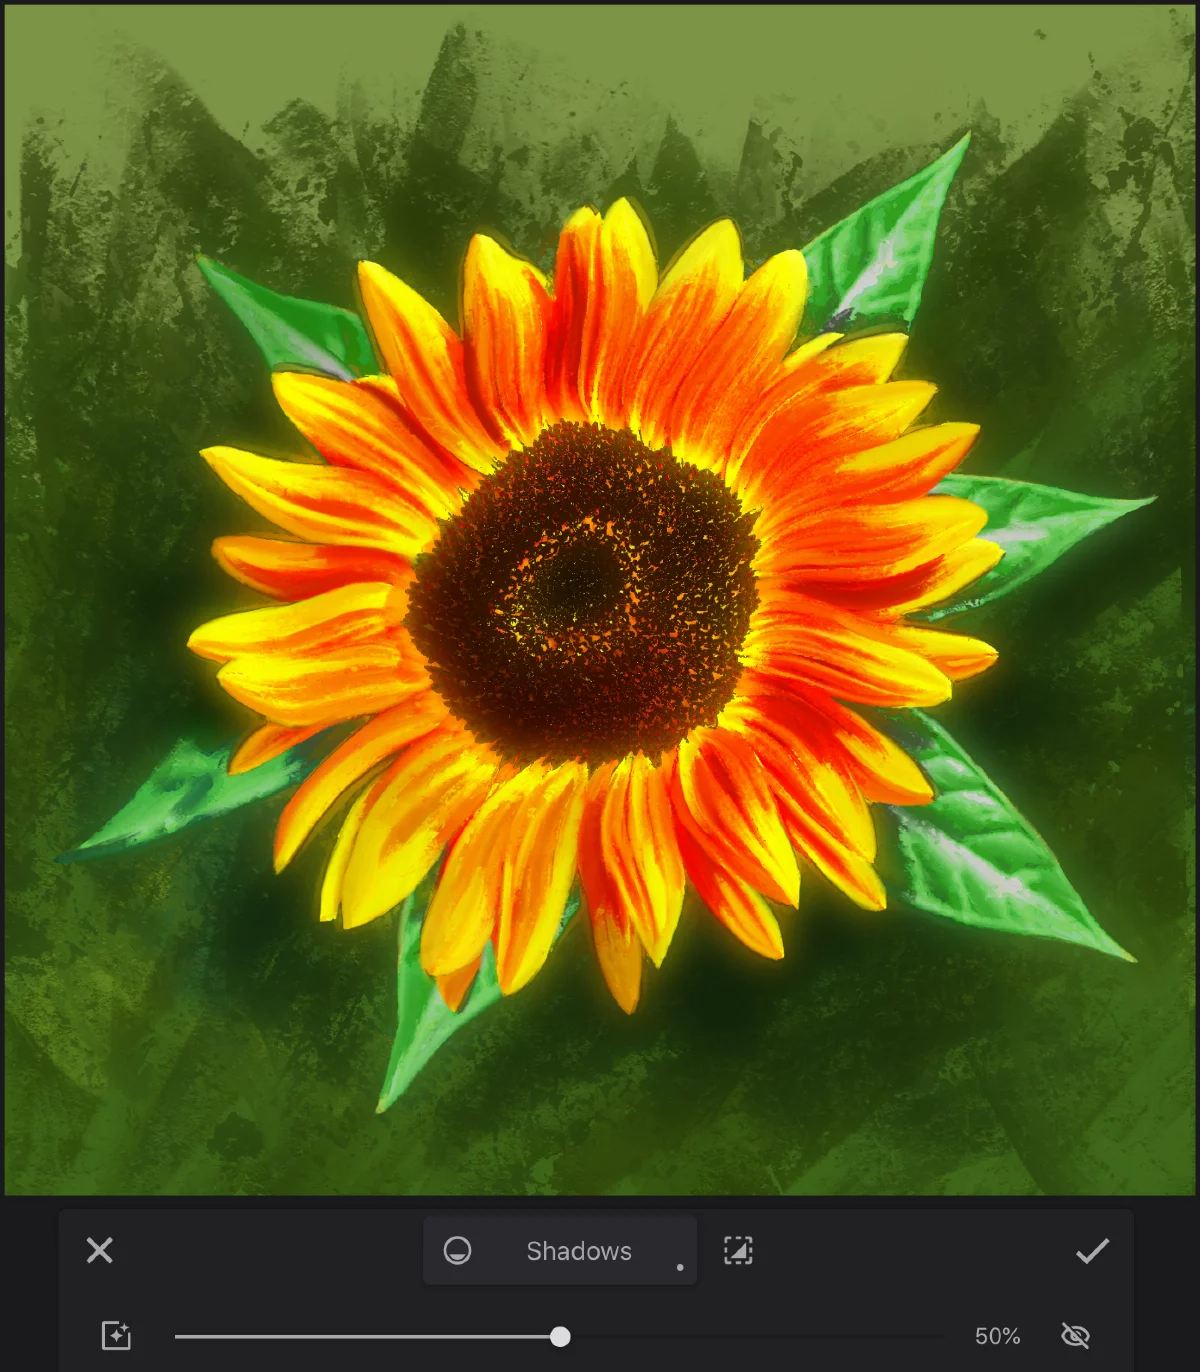
Shadows mask applied to 50% Blur filter.
The darkest areas are the most affected by the filter.
You can invert the tonal masks as well; however the effect of this action may be unexpected.
You can combine the tonal masks with a selection mask created with any of the Selection tools.
Learn more about selecting areas of your artwork in the Selection tools.