Overview
Make a video from your painting.
You can record a video of the process of creating your artwork and share it with your friends or fans.
In the era of generative artificial intelligence, such a recording may also be the only proof of authenticity of your creative process.
The time-lapse recording is not a real-time video recording; only your actual edits to the artwork are recorded (like the brush strokes). The recording system adjusts the tempo of the recording to the time you spent painting, so the longer projects are in fact more compressed in time. You can also compress the recording even more when exporting, to create a short summary of your work.
You can decide if you want the recording to register your canvas navigation (zooming and panning) or to show the canvas in its full size. Learn more in Timelapse modes.
If you wish so, you can hide certain layers in the recording. See Hiding layers from recording.
How to use the Time-lapse recording
Set up the video quality in the New project section of the Application settings. Learn more below. This setting applies to all subsequent projects.
After creating a new project, make sure that the time-lapse recording is on.
Create your artwork; the recording is carried out in background (the video data is kept in your project).
After finishing the project, export the video with the Recording Playback tool.
Share the exported video to your favorite service or use it for whatever intended purpose.
Note that video recording may add a lot of data to your project. Control you device's available storage.
Recording setup
Become a video producer.
You have to set up the quality (resolution) of the video recording before creating a new project.
“New Project” section in the Application settings:
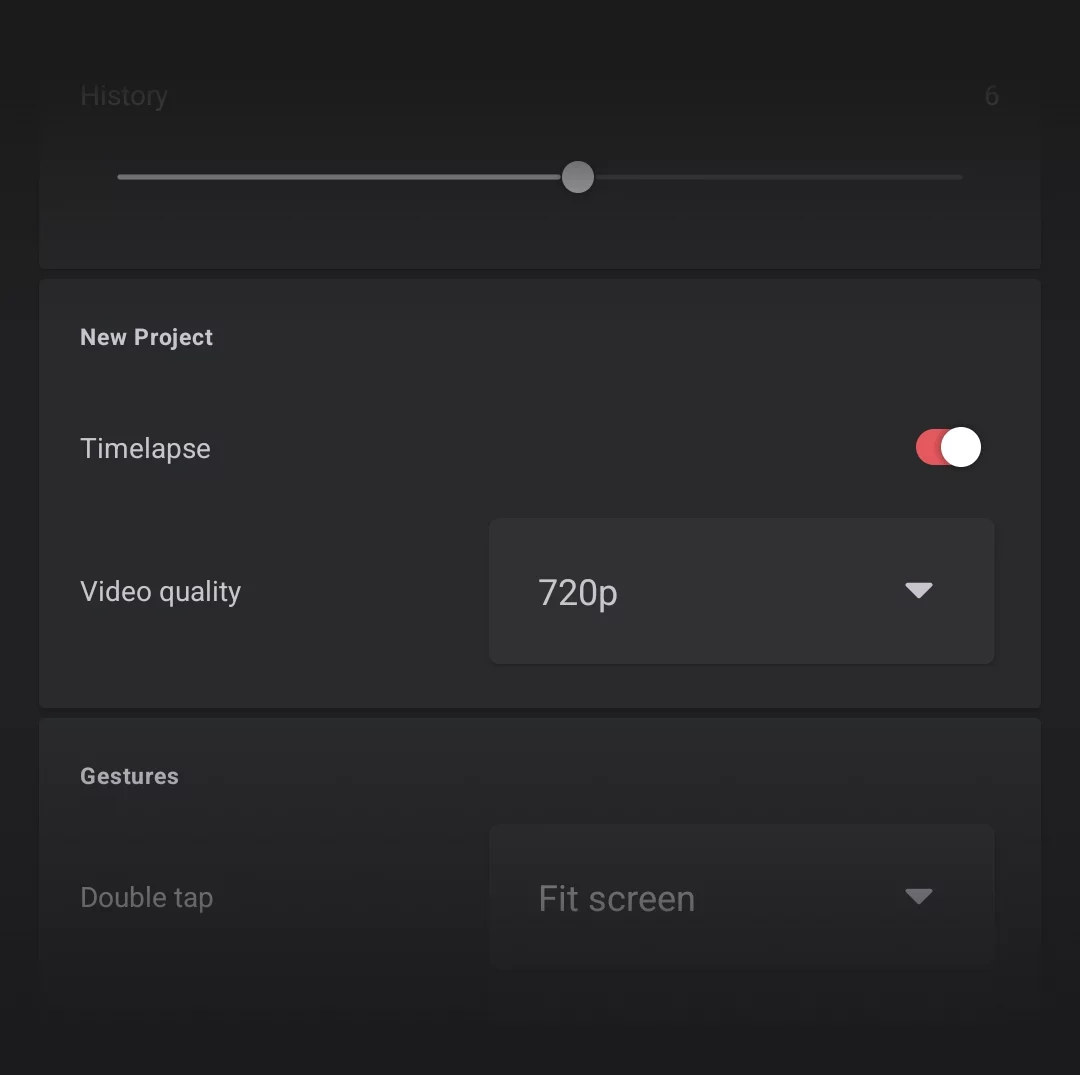
Turn recording on/off in a subsequent new project
This can be changed in the Recording panel afterwards.
Pick the desired recording resolution
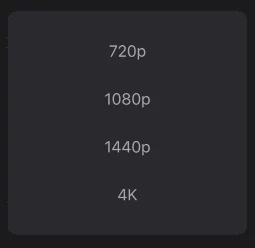
Note that higher settings may produce very large files and the recording may affect performance on weaker devices.
Actual video size depends on the proportions of the canvas.
If you intend to publish the recording, consider using canvas proportions based on standard video formats. Plan ahead.
Note that you cannot change the chosen video format after creating the project.
“Record” panel
Control the recording within the Studio.
The Record panel contains controls of the Time-lapse recording and also lists project statistics.
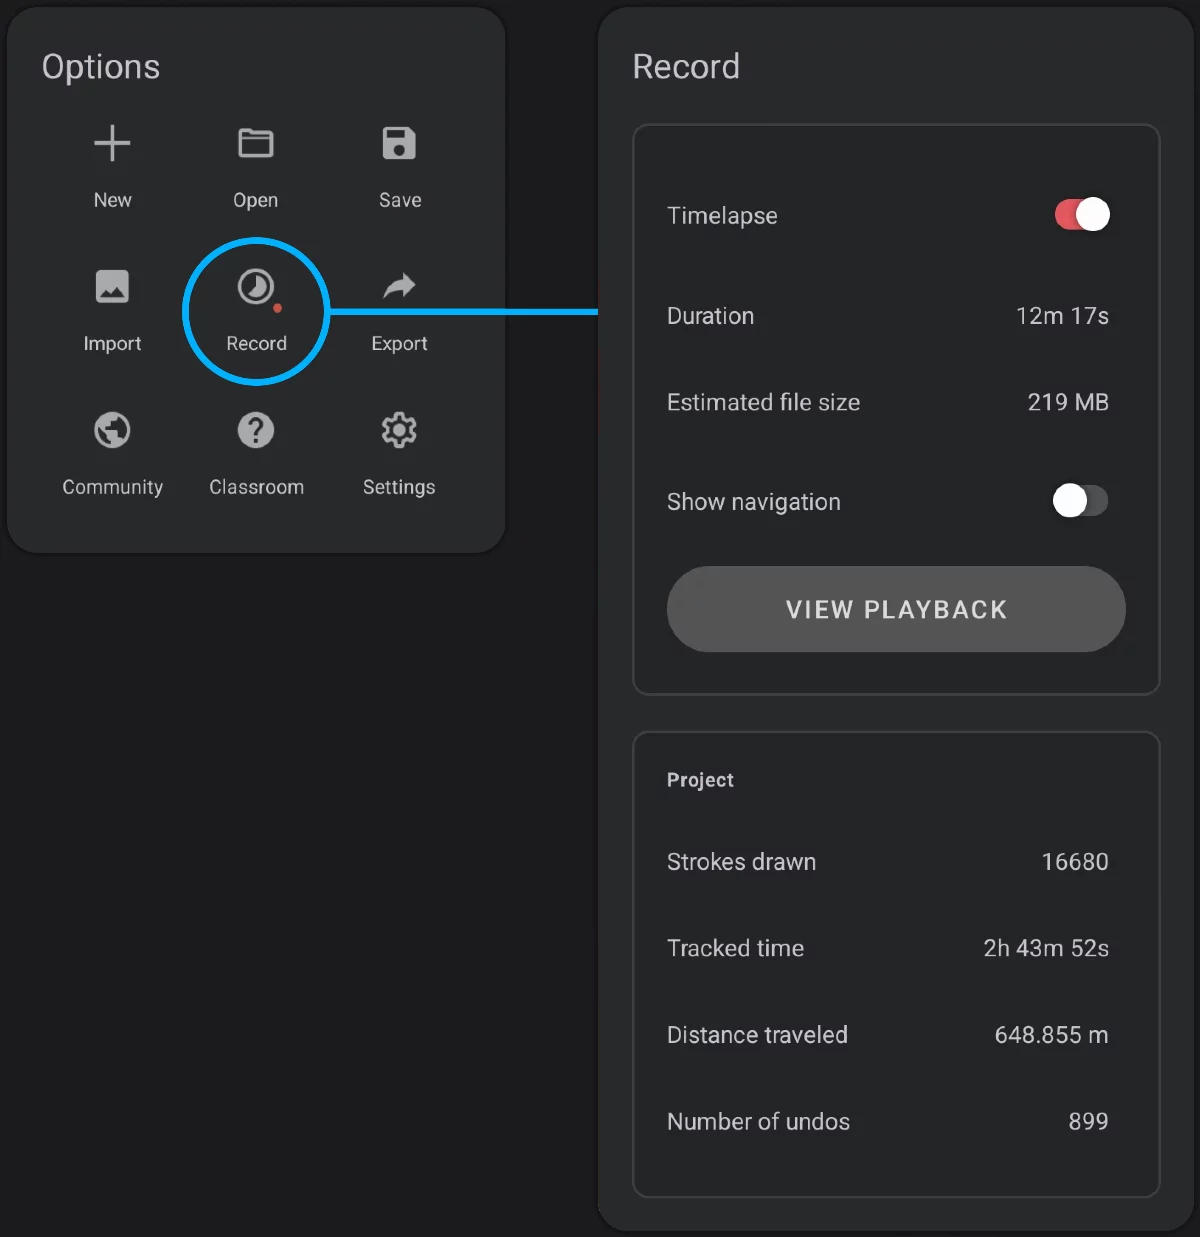
Turn recording on/off
You can turn off and back on the recording when you wish so. The pauses will not be visible in the final video.
Recording info
Duration of the recording and estimated video file size (note that you can decide on actual video duration on export).
View Playback
Opens the Playback screen — a simple video player showing the current recording.
Note that this button may be inactive if the length of the recording is too short.
Export the finished video from the Playback screen. More in Time-lapse recording playback.
Project statistics
(These are unrelated to the timelapse recording)
Strokes drawn (the number of separate strokes drawn in current project)
Tracked time (time spent editing current project)
Distance travelled (the length of all your strokes in current project)
Number of undos (the number of times you used the UndoUndoThe "undo" command allows you to reverse your last action, restoring the artwork to its previous state. Most of the operations in Painter can be undone. Learn more function)
Note that the "Tracked time" value is calculated from your apparent activity registered by the application and may not match actual time spent on your project. Technically, this value expresses the time when you actually touch the screen (with your finger or with a stylus).
Timelapse modes
Zoom in.
There are two modes of the timelapse-recording: regular, and with the canvas navigation.
Regular recording shows your canvas always fit to the video frame. This is the default mode.

Recording with canvas navigation shown follows your zooming, panning and rotating of the canvas while you work.

Note that you can toggle the 'Show navigation' option on and off during recording. Timelapse recording never shows any elements of the interface, brush cursors or points of finger touches.
If you wish to show the actual look of the screen during your work, use the device screen recording feature or a third-party screen recording application. (However be warned that the screen recording apps record in real time so the resulting video files may be huge and that they may require post-production to be usable).
Playback
Preview and export your video.
View Playback button in the Recording panel

The Time-lapse Playback is a very simple, single-purpose video player. It has no editing options, it’s just a preview.
Video playback workspace
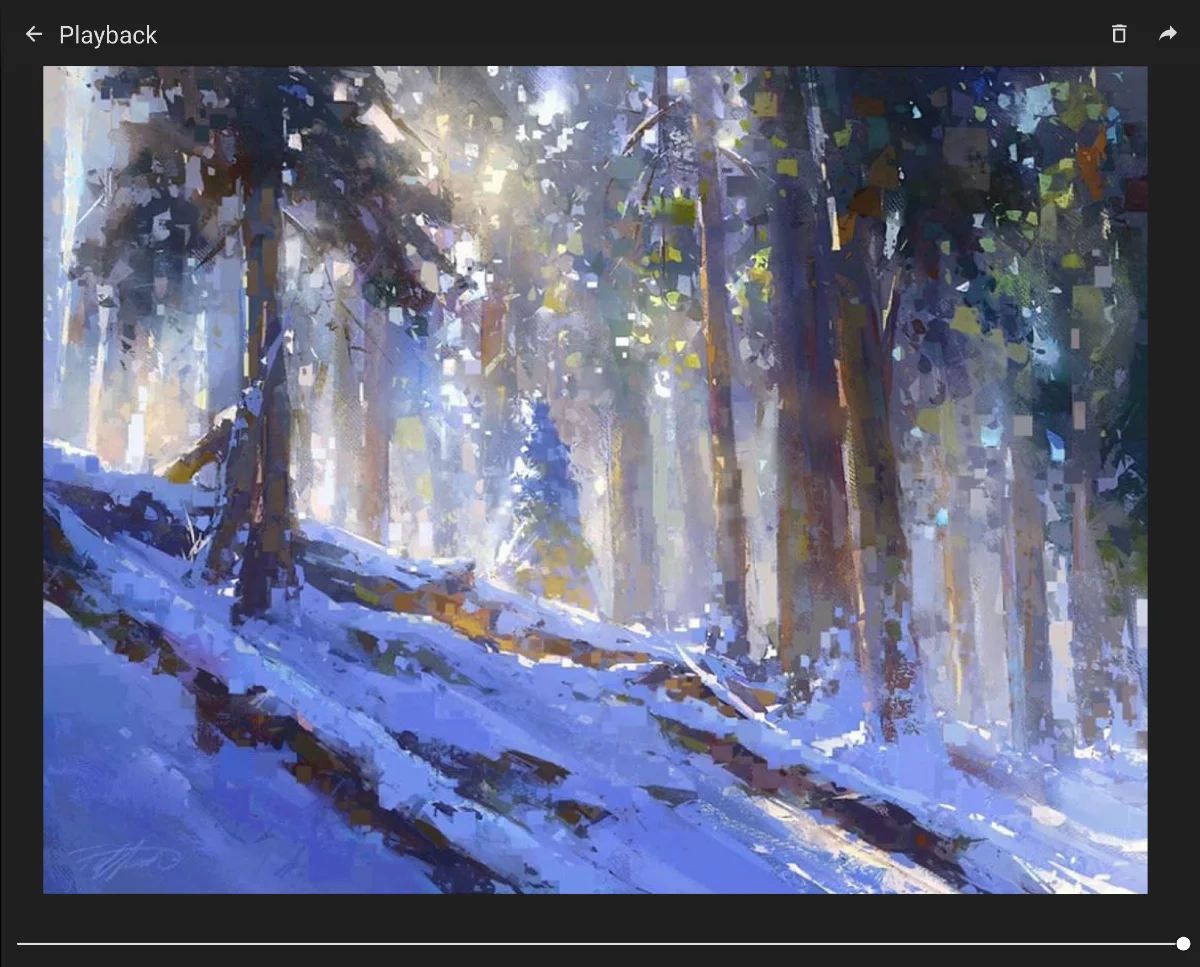
Close Playback screen and return to the StudioStudioThe Studio is the main workspace in Infinite Painter where you create and edit your artwork.Learn more.
![]()
Delete the entire recording
It is a good idea to purge the internal recording after you've exported your video to save storage space. But make sure you really don’t need the recording anymore.
This is irreversible.
![]()
Export the recording
Pick the duration of the clip from the popup list (the available durations depend on the length of your recording).
Immediately after picking the duration the clip will be exported. You will be offered options to save the video locally (in the photo gallery app) or share it to any third party application.
You can export the same recording to video clips of different durations.
Timelapse recording Timeline (scrubbing bar)
You can preview the video recording with it.
Note that there are no "play" and "pause" buttons; the playback starts automatically from the current "playhead" position.
Note that video files tend to be large, especially in higher resolutions like 4K. Control your device's available storage space.
Hiding layers from recording
You may call it cheating.
You can hide layers or even groups of layers from recording so you can see them while working but hide from the video.
Use the layer options popup to hide the layers from the time-lapse recording:
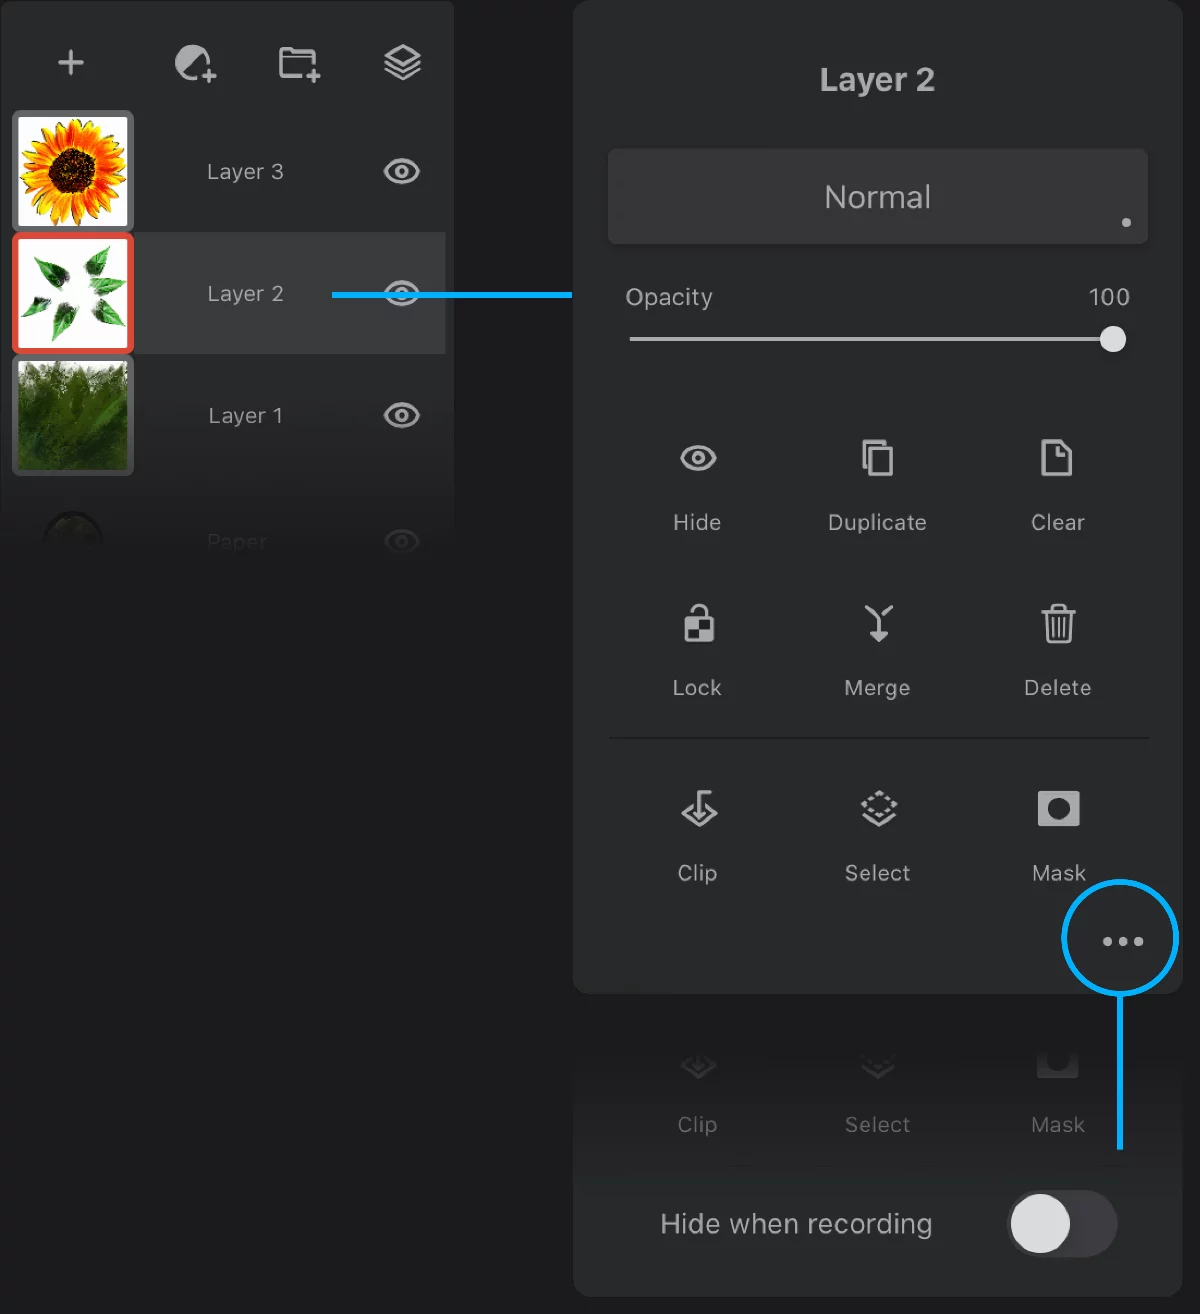
![]()
More options…
Tap to expand the layer options panel.
Hide when recording
When active, the current layer will be invisible in the timelapse recording. The layer will remain visible and editable in Studio.
Note that using this function may completely distort the look of your artwork in the recording (especially when used on Adjustment or Filter layers). Use with caution, test beforehand.
Also note that, in certain cases, hiding layers in the timelapse video may be considered an unfair manipulation and even may constitute a violation of rules (like in an art contest) if you publish the video without a comment.